Ken's
Gibson "Les Paul Special" Neck Repair Page 3
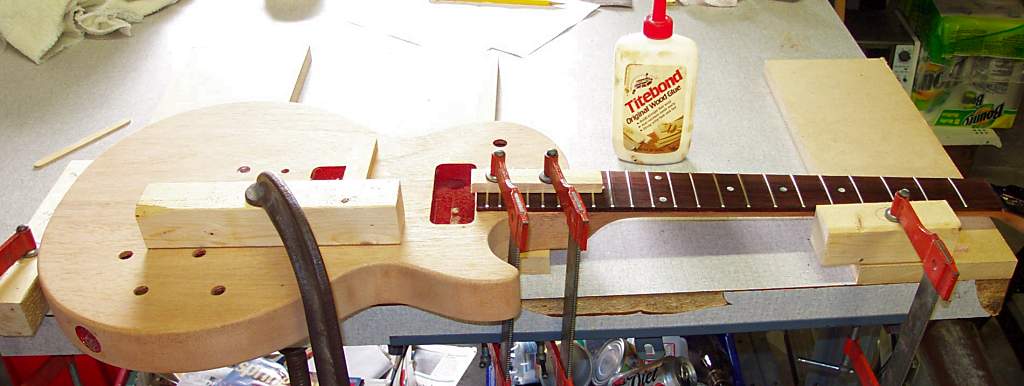
Today is the big day . . . The neck goes back on! I don't have to tell you just how critical it is that I get it right the first time. If I screw this up, it's back to square one, fretboard removal.
To begin, I borrowed a friend's Les Paul so I could make measurements and see just how the factory did it. The angle that the neck makes with the body is all important for proper string height and playability. I decided to place a straightedge over the center of the fretboard and measure the distance of the straightedge to the body at a point 3 inches beyond the edge of the fretboard. In that way I'd duplicate the angle of his nice playing Custom Shop Les Paul. On his guitar, that measurement turned out to be 13/64".
I did find that the original neck pocket was milled with a slight error angle in the horizontal direction - I could not get the neck straight as viewed for the top with the original configuration. I needed to trim the pocket slightly, as the neck was off center by about 3/16" at the nut. So much for Gibson quality control . . . <g>
That done, I set the angle by sliding a small block of wood under the neck until I duplicated that 13/16" measurement to get the neck angle proper. The jigging turned out to be surprisingly simple to lock in these measurements, as seen in the photo below.
Here is the little block that lifts the headstock end of the neck until the angle is right on.
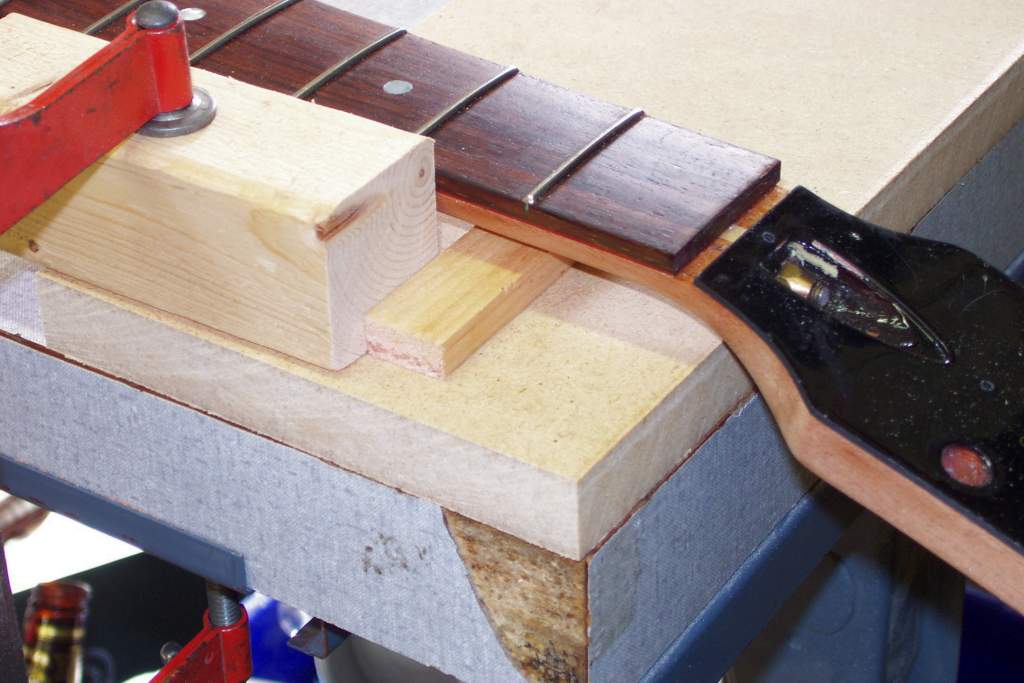
An unmitigated Success! The neck is straight and plumb to the body in all dimensions, and the surface of the frets is exactly where it needs to be for the bridge! I'm ecstacic!
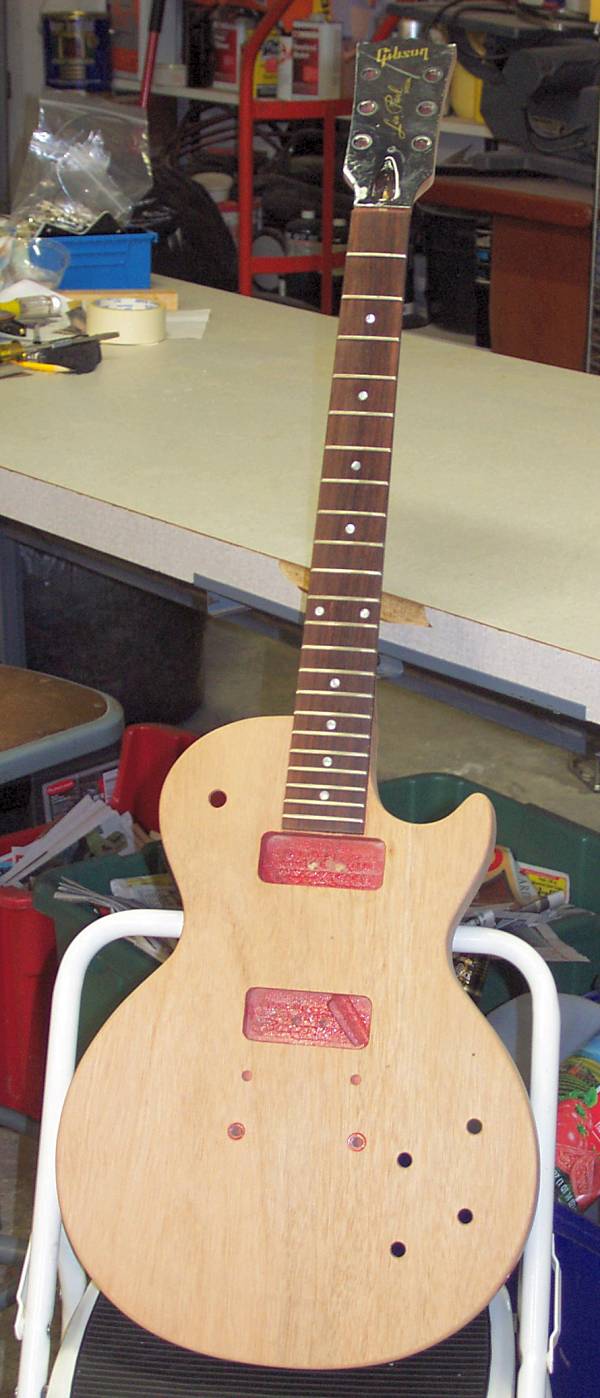
View from the backside . . .
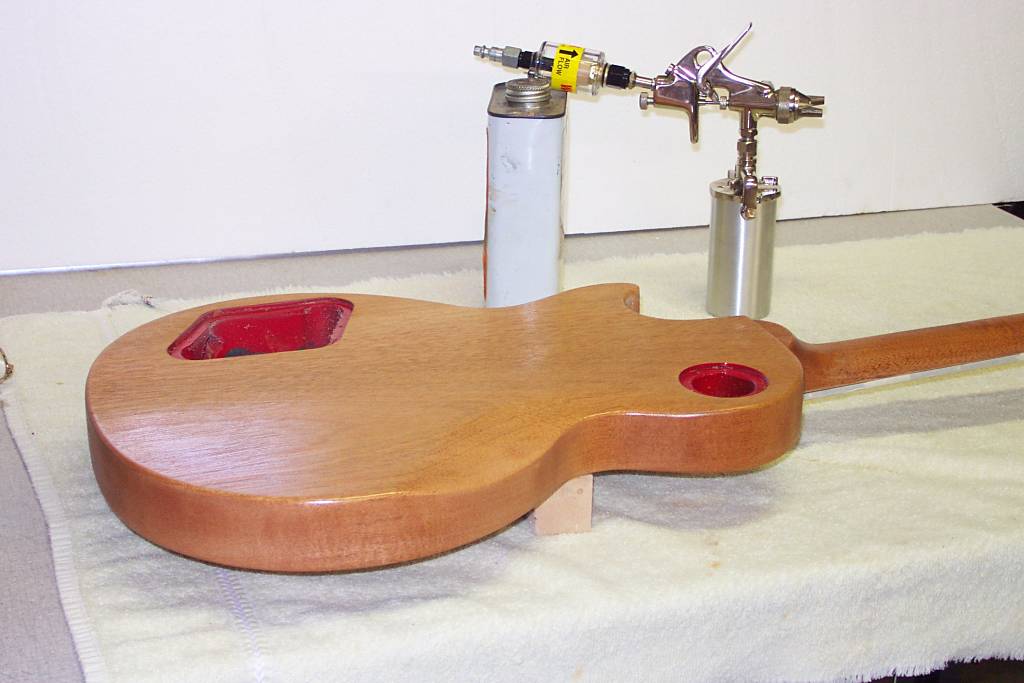
Before I put on any color coats, I have to seal the grain of the wood. I decided to simply use clear lacquer, the same as I will use on top of the color coats. Here is the guitar after a few coats of clear lacquer. The mahogany has darkened up nicely. There are a few spots on the neck where I didn't sand all of the glue off, I will have to sand those areas better and reapply the sealer coat. After I have a smoothly sanded sealer coat I am happy with, I will proceed to the color coats. My weapon of choice is a detail spray gun, shown behind the guitar
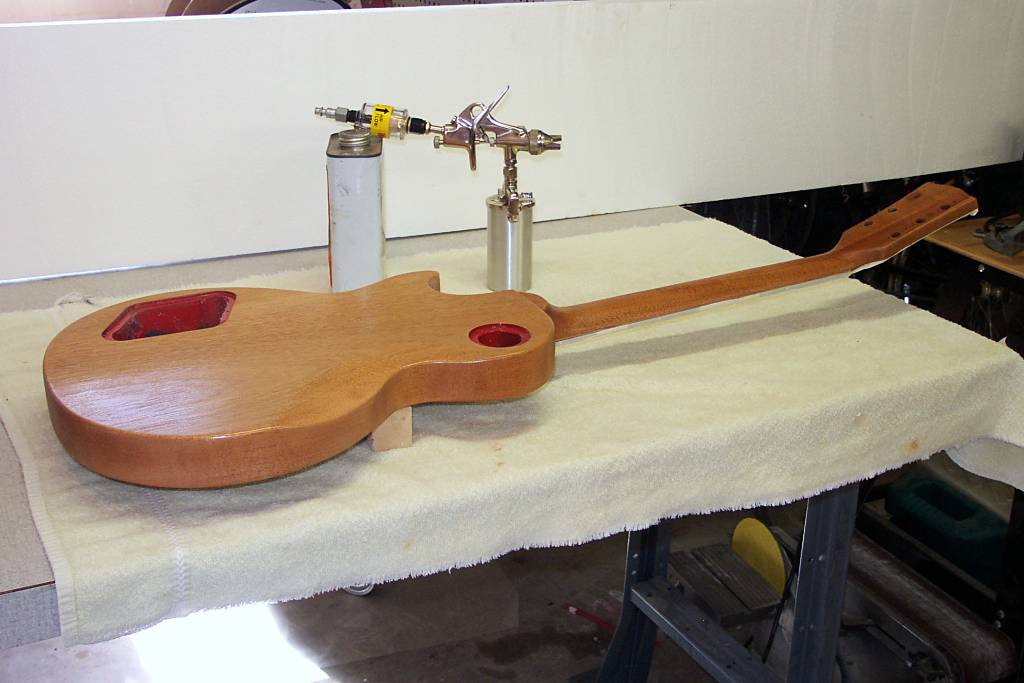
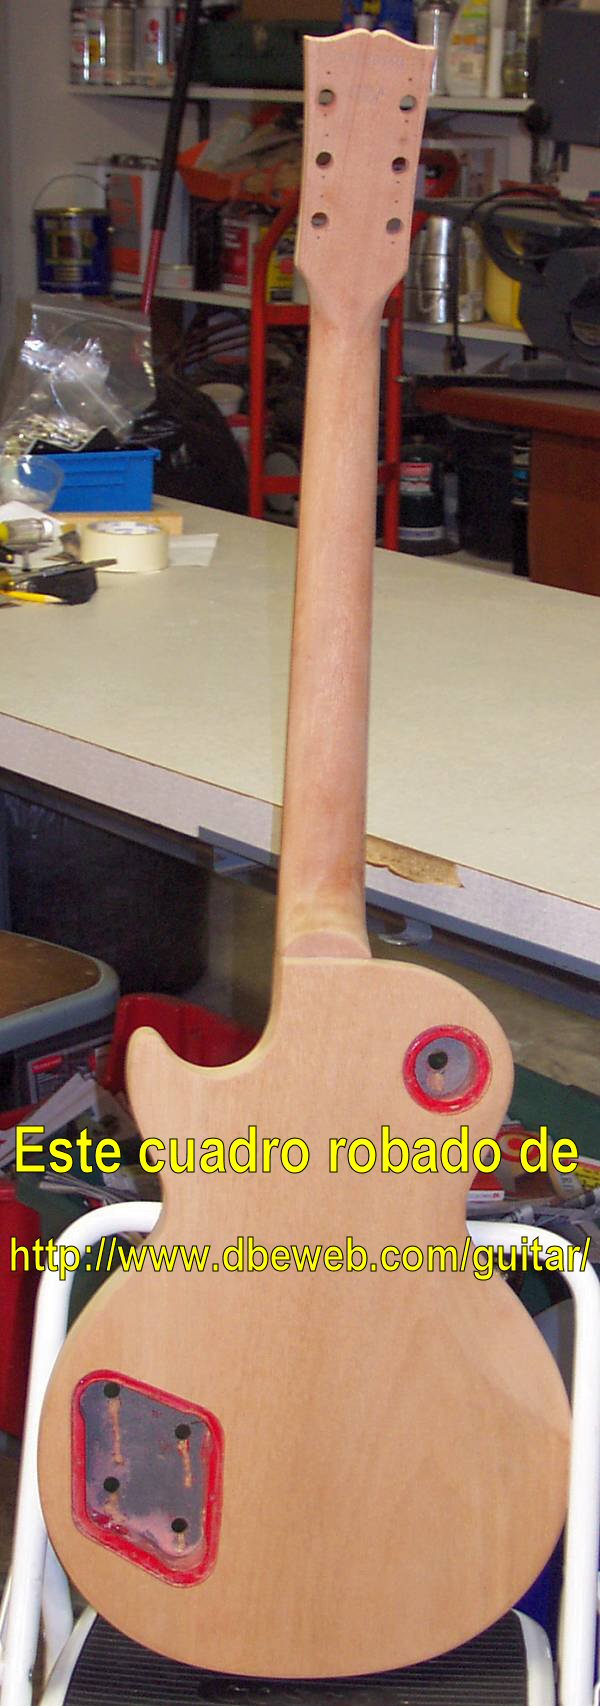
A close-up of the bottom of the guitar.
<== GO BACK TO PAGE 2 GO TO PAGE 4==>