 |
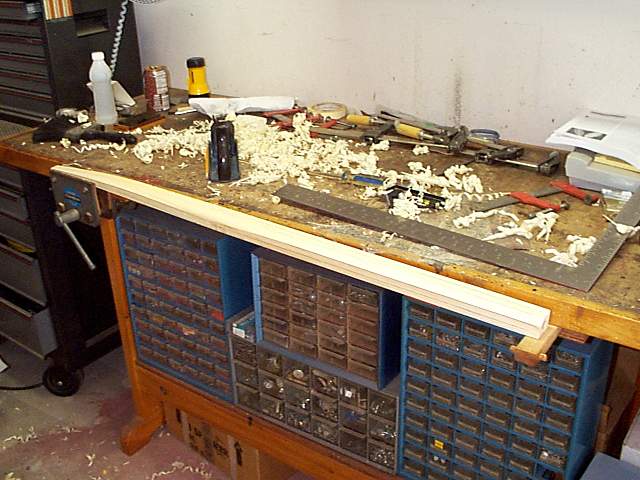
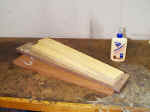
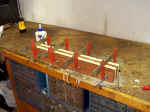
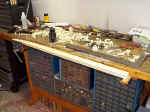
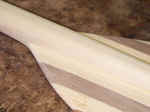
Paddle Wood - I used
black walnut, mahogany, and sitka spruce for the paddles. Since I forgot
to take pictures before I began, here are the remains, ready for the
second paddle. |
 |
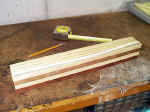
I stacked four 3/4"
boards ripped to 2-3/4" wide x 21" long to produce a blank 2-3/4"W x 3"H x
21"L. This is less than Nick's recommendation of 5 boards stacked
3-3/4"H, but the small bandsaw I had was limited to a 3" ripping
height. Add 2x3" + 3/4" at the tip for 6-3/4", and 2x3+ 1-1/2" at
the root for 7-1/2" and you have a decently sized
blade. |
 |
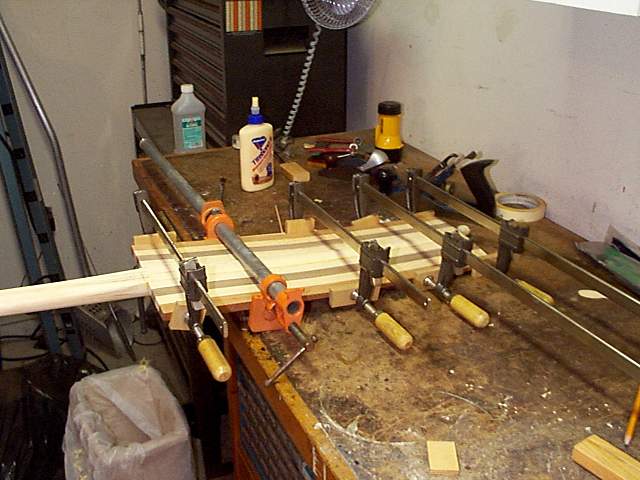
Glue has dried, and I
cut a template for the paddle profile from some "thin" poster board
(gotten from K-Mart). I originally cut the template from some
"real" poster board I had laying around, but it mysteriously assumed
a very straight shape . . . Use the thinner cheap stuff, it actually
holds it's cut shape . . . |
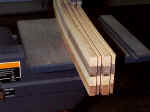 |
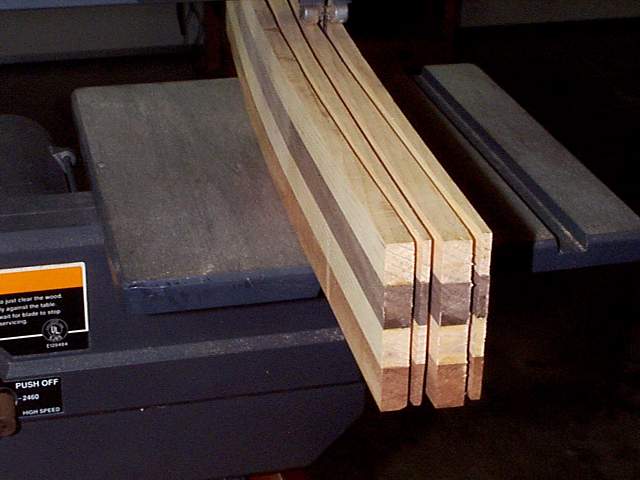
The next step was
cutting the paddle blades from the prepared glueup of stacked
lumber. My bandsaw is a a bit undersized for this operation, and it
made the job much harder than it should have been. After some careful
maneuvering, 4 planks, which would become 2 paddles, saw the light of
day. |
 |
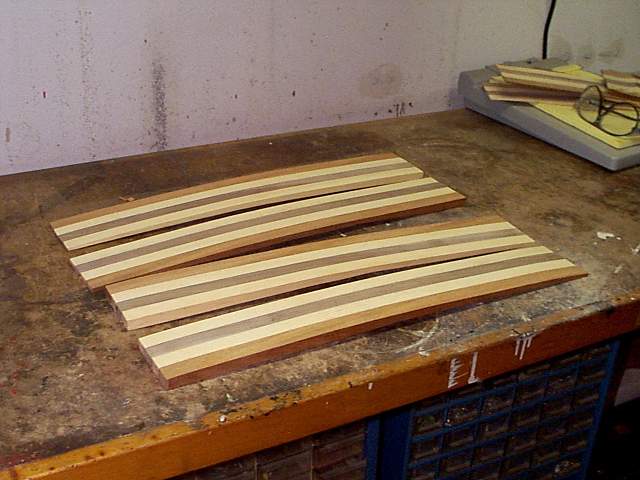
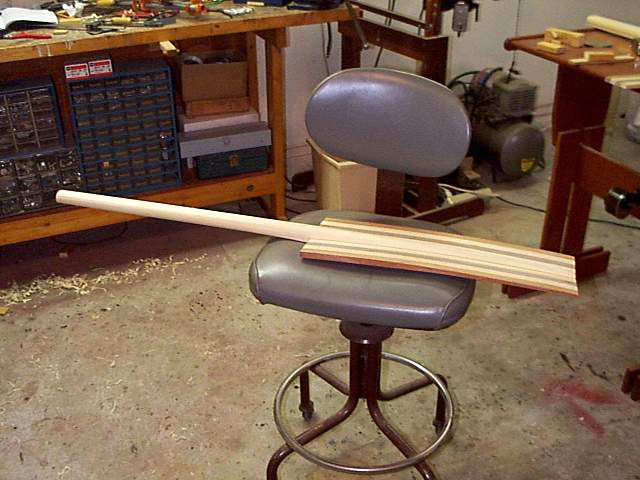
There are the 2 pairs of paddle
blades ready for attachment to the 2 shafts (yet to be built). Some
planing and sanding was required, but they are pretty much like peas in a
pod because of the way they were constructed. The spruce will be on
the inside, to mate up with the spruce shaft. |
 |
Here is where I deviated from Nick's
guidelines the most. Instead of scarfing the 2 paddle assemblies as
recommended, I shortened the shaft halves to 45", for an overall paddle
length of 90" - - I did route the "shaft hollowing" 1/2" cut, and intend
to use it as a final adjustment for feather angle. The 1/2" dia.
hole through the center of the paddles is a natural for a 1/2" wooden
dowel to align and hold the shaft together. This, together with some
glass and epoxy around the center of the shaft should provide adequate
strength in this relatively unstressed area. The oval wood area at
the center needs to be trimmed to a circular cross-section, for
appearance, to allow for various feathering angles. |
 |
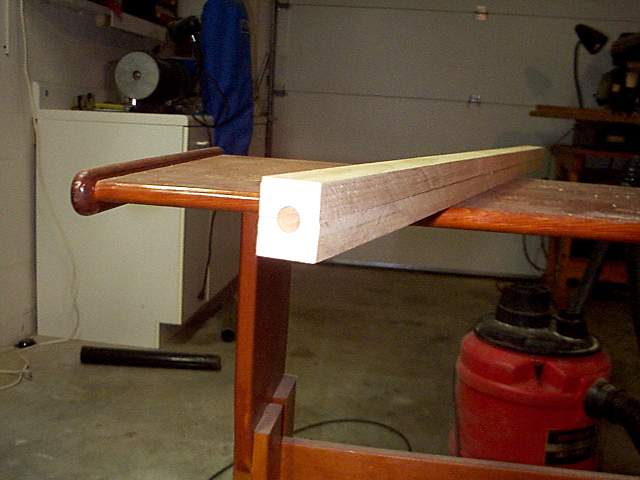
Glueup of 1/2 of the shaft, showing
the 1/2" wood dowel temporarily inserted into the center of the shaft for
alignment purposes. I Didn't allow the dowel to become fast glued in place
at this time. I moved it now & again, and withdrew it before the
final cure. |
|
|
 |
This is what my first 1/2 shaft
looked like after gluing together. It is important that the routed
1/2"dia hole lines up for attaching the shafts and setting the feathering
angle. |
 |
Here I've begun shaping a shaft
before the attachment of the paddle blades. I found it much easier
to shape the shaft before inclusion of the paddles, in that no
obstructions exist for the planes employed. I could shape to the design
lines easily in this way. |
 |
This represents a nearly completed
1/2 shaft, fully shaped and planed, only in need of final sanding.
Since I did not have a spokeshave, which would have helped in fairing the
top of the shaft to the paddle lines, I used a utility knife (It worked
great!). The curves and relations in this "simple" shaft are
actually fairly complex, and it REALLY helps to draw all lines on the
shaft as you go. |
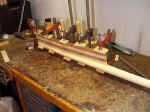 |
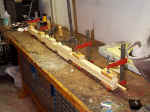
The first paddle stackup is now
clamped to the shaft. Since the paddle is so thin in cross section,
lots of care must be exercised when centering the clamps on the
assembly. If you are careless, the assembly will simply pop apart
(Been there, done that). |
 |
Wow! Here's the second paddle half
being assembled to the first. That means there is a complete paddle
half being born! |
 |
Here is a finished assembly which
amounts to 1/2 of a finished paddle. The other is off camera and will be
seen soon! |
|
|
 |
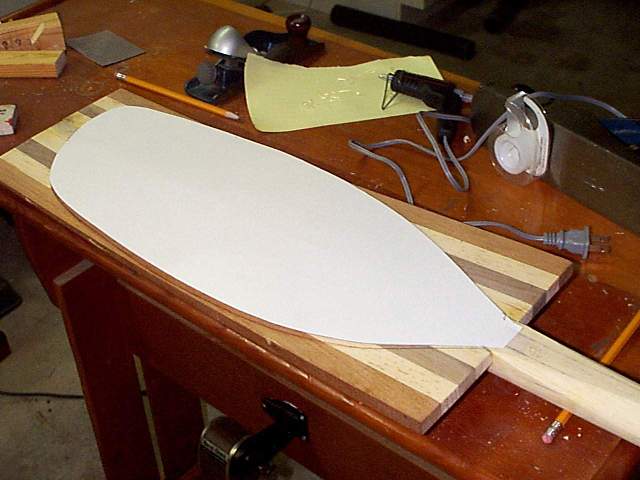
After the Shafts and paddle halves
were assembled, I traced a template for the shape of the paddles.
Here I am tracing the paddle shape onto the finished
blank. |
 |
Remember to flip the template for
the two paddles - - They must be mirror images of each other as traced
onto the paddle blanks. When in doubt, put the 2 halves of the
paddle together and observe the paddle blanks in an unfeathered
configuration. |
 |
A partially cut paddle. The
bandsaw was definitely more suitable for operations with thinner blanks of
wood! I kept outside the cut lines, and cleaned it up in the next
operation with a small disk sander. |
 |
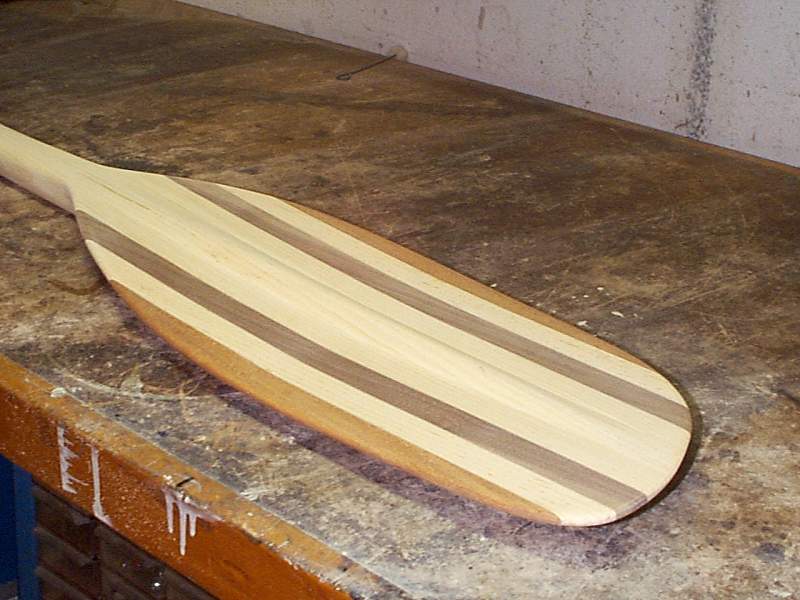
Here, the paddles have been further
smoothed by using a sanding disk to remove the bandsaw blade marks.
Further shaping will be by means of hand-powered sandpaper, to provide the
regular curves and shape to the paddles. |
 |
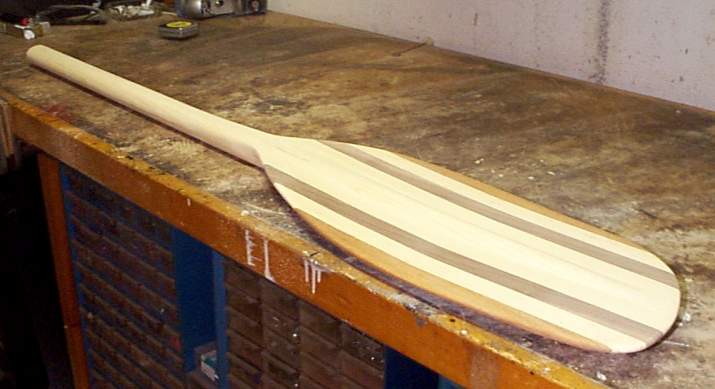
Planing, heavy-duty hand-sanding,
and the occasional power tool were used to smooth and shape the first
blade. This effort on one blade took an entire evening, but it is near
perfect. I only have to do it one more time (for this paddle . . . )
|
 |
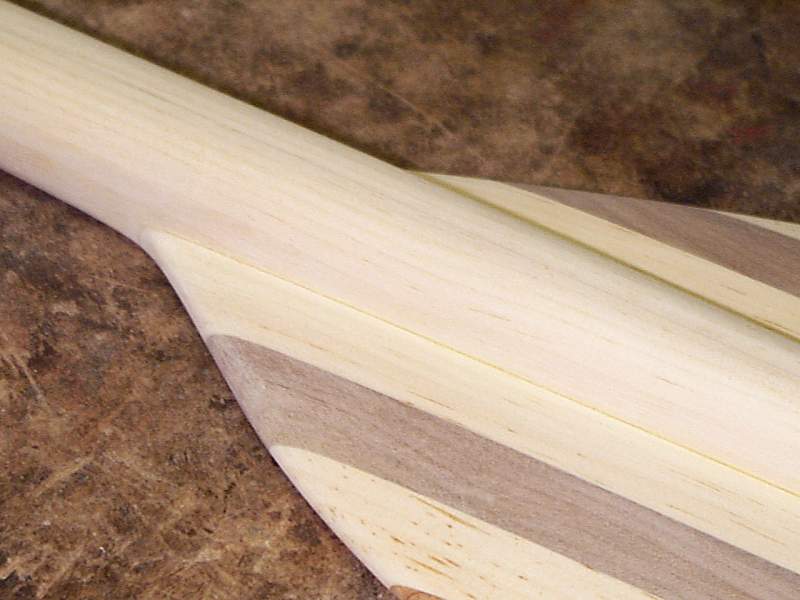
A close-up showing material removal,
edge rounding, and the pointed bead along the top of the paddle. I
have been told that this bead is very necessary for the satisfactory
performance of the paddle. |
|
|
 |
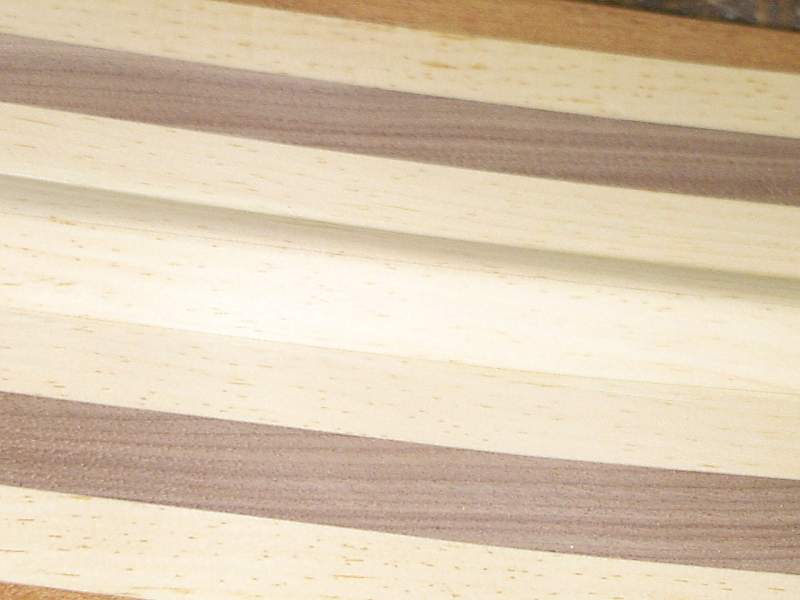
A further close-up of the bottom of
the paddle lest you doubt the quality of workmanship possible with this
design . . . |
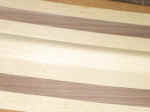 |
Another macro photo, showing a
close-up of the pointed bead on the top of the
paddle. |
 |
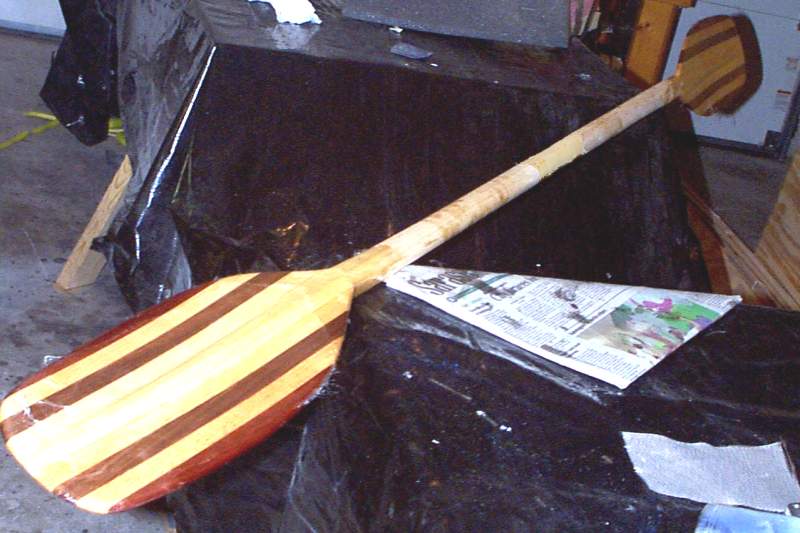
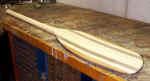
The two paddle halves have been
joined together with a 12" long x 1/2" dia wooden dowel epoxied into the
center holes. A 60 degree feather was selected as optimum for me,
and you can see the feather in this photo. The faces of the paddle
blades have 4oz cloth epoxied onto their surfaces, and the center splice
in the shaft has been glassed with a 6" wide layer of 6oz cloth. An
additional 4oz bias cut tape has been applied to the edges of the paddles.
Some sanding and filling is next. |
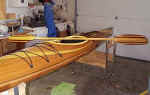 |
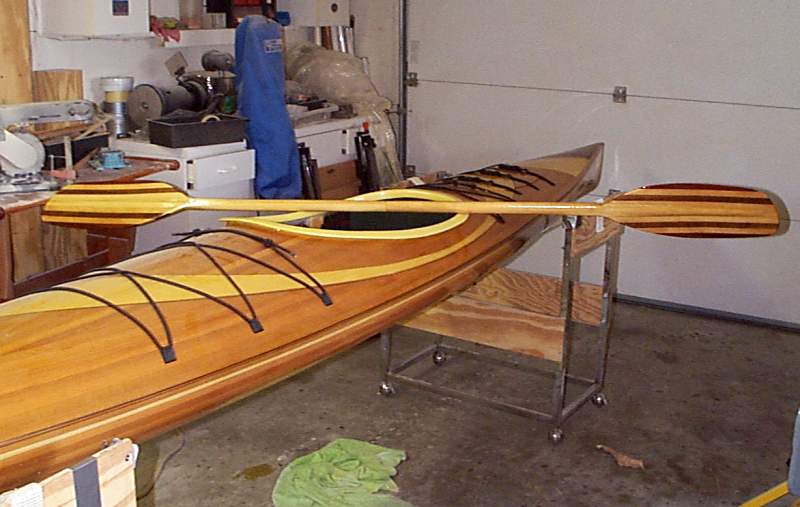
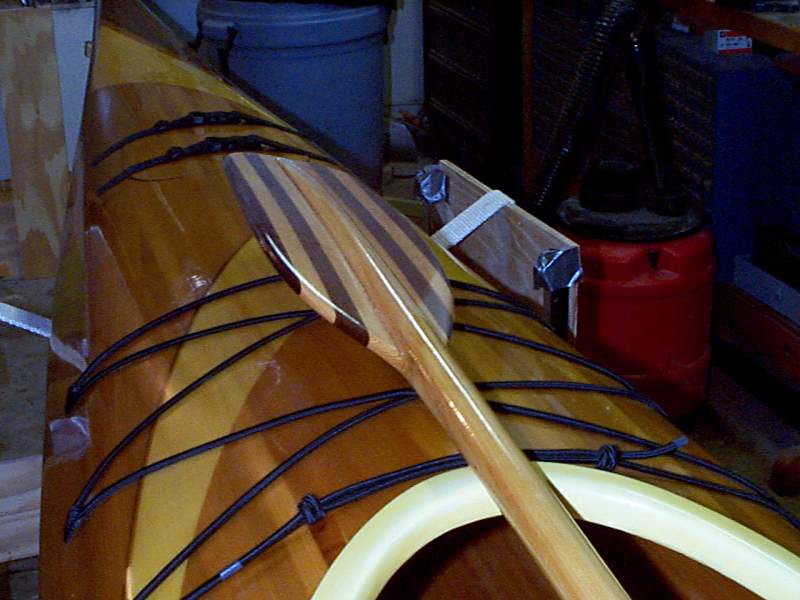
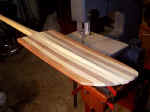
The paddle has been sanded and 3
coats of varnish applied. It joins the kayak, which was built in the
interval between the last picture and this one! It weighs in at
exactly 2.7 lbs., not too bad considering the shaft diameter and the
glassing employed. |
 |
The paddle matches the overall
appearance of the kayak pretty well . .
. |