|
I'm using a neat trick I picked up
on Nick's KBBS, that of spot hot-gluing the 3" wide interior seam tape in
place on the hull. This allows me to position the tape all the way
to the ends with ease. There is a small drop of hot glue spaced
every 8-10", to simply hold the 6oz glass tape in place when the deck is
laid in position. |
 |
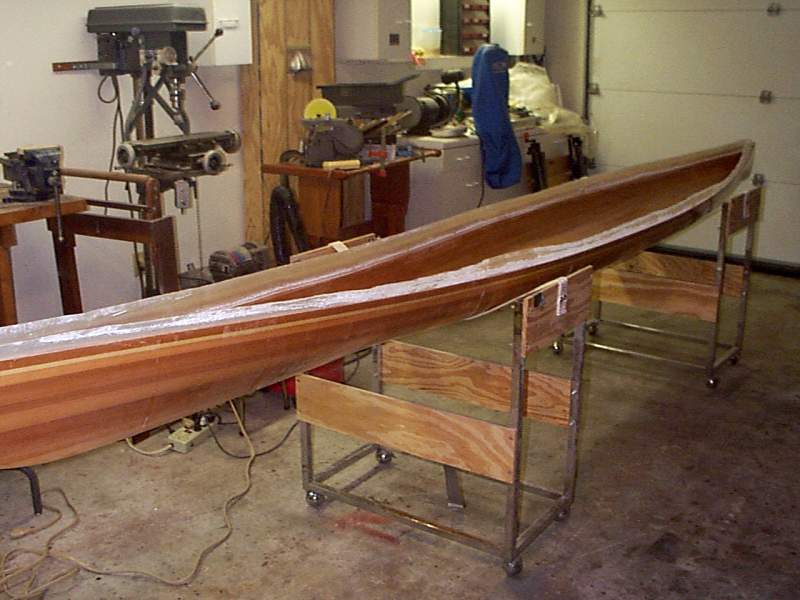
Taping the hull and deck together is
getting monotonous, but this is the last time. The edges are matched
nearly perfectly all the way around the kayak, awaiting taping and
glassing of the inner seams. |
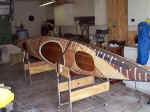 |
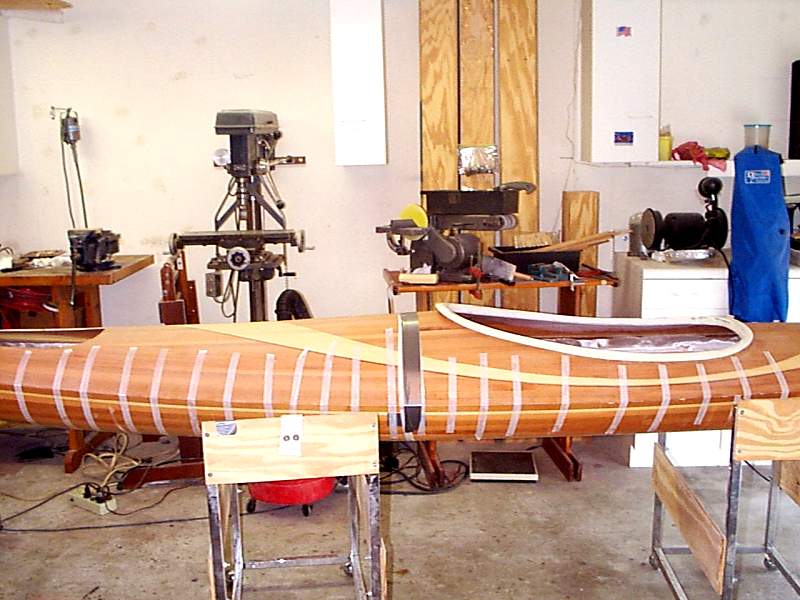
The boat has been laid up on its
side to aid in glassing the port seam. If it weren't for the hatch cutouts
and brushes attached to long sticks, the job would be nearly
impossible. As it is, it is merely a small nightmare. When the
bottom seam tape cures, the boat will be flipped over and the other seam
installed. |
|
|
 |
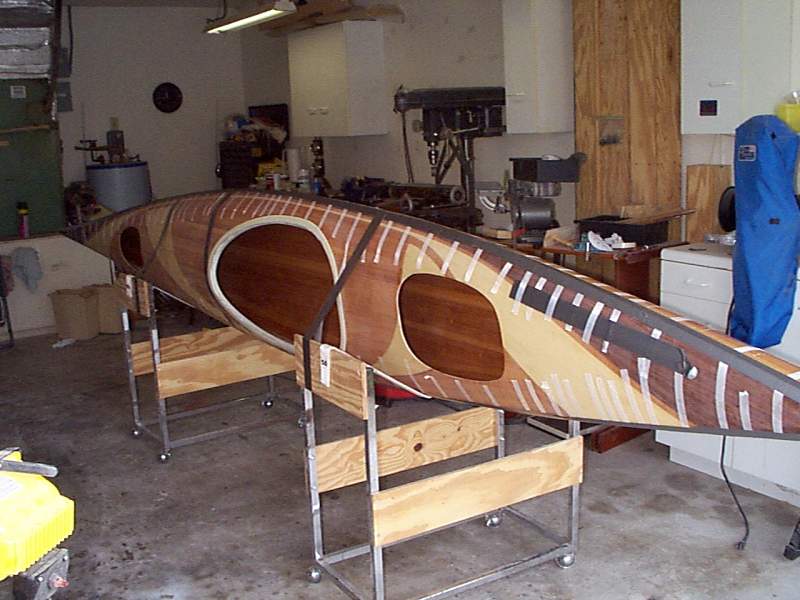
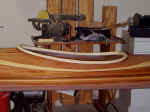
Inside seam glassing has been
completed and allowed to cure, the tape has been removed, and the port
seam sanded smooth. Here the outside seam has been freshly glassed
with 3" wide 6oz tape. |
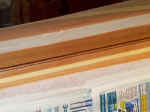 |
Closeup showing the masking done on
either side of the 3" wide tape to protect the rest of the hull & deck
from drips. When the epoxy hardens, the tape will be feathered into
the other surfaces and a filll coat applied. |
 |
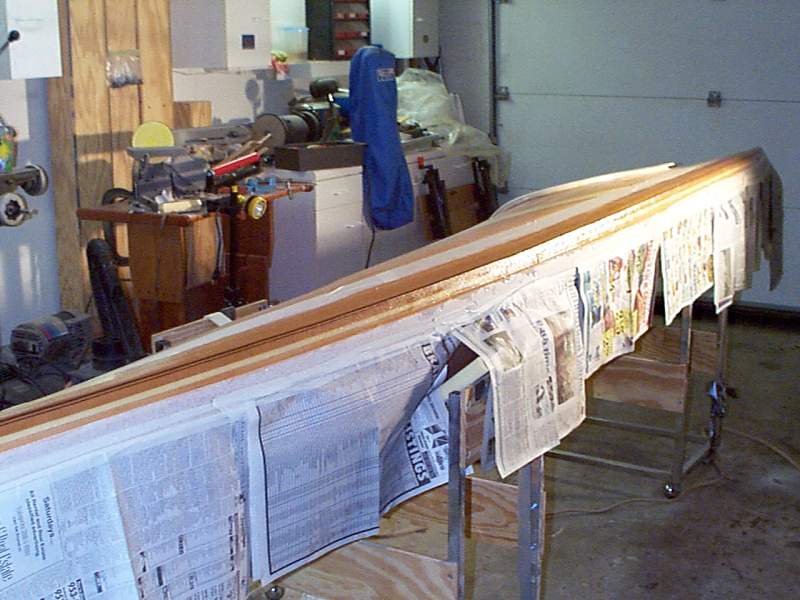
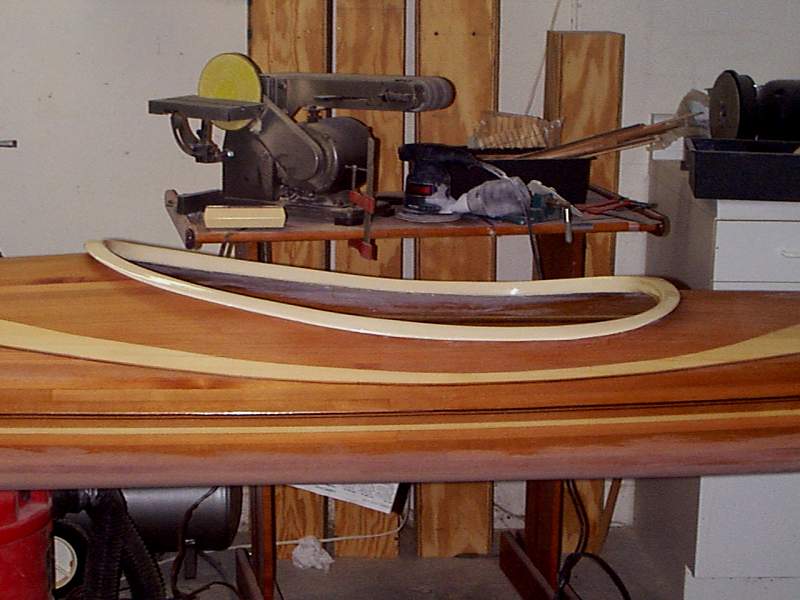
After removing the tape and
newspaper, the true contrast of the coaming and deck become
apparent. I had difficulty capturing what the true colors look like,
but this photo at least gives some idea as to what you will see in
person. Some of the kayak is sanded, some is not, and there is fresh
fill on the sheer glassing. |