 |
The deck has been popped off the
forms and positioned upside down on two workbenches placed end to
end. Some foam blocks have been taped together to hold the deck
steady while the scraping and sanding operations are carried
out. |
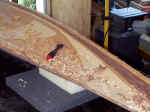 |
A requisite picture with all strip
built boats, here the glue is being removed and the inside strips faired
up with a scraper. The paint scraper pictured came from Harbor
Freight, has three different shaped blades with 9 cutting surfaces,
cost 9.99, and makes quick work of any glue. |
 |
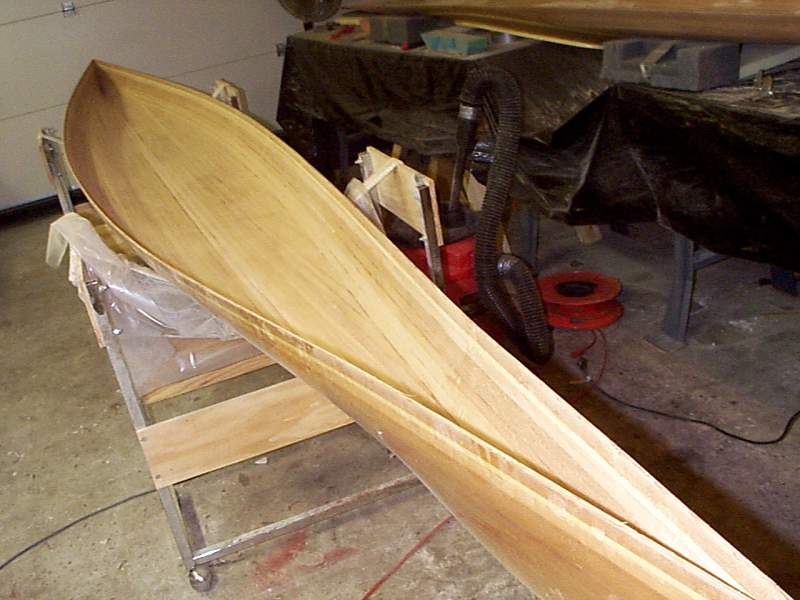
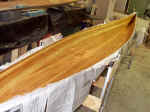
The hull interior has now been
scraped and sanded as well. I will glass the hull first and set all the
station widths before proceeding with the deck glassing. This seems
like the simplest way of assuring alignment between the two. I
weighed the hull at this stage, and it is less than 16 lbs. I will
weigh it again after interior glassing, it will become my own personal
benchmark to beat in the future. |
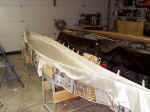 |
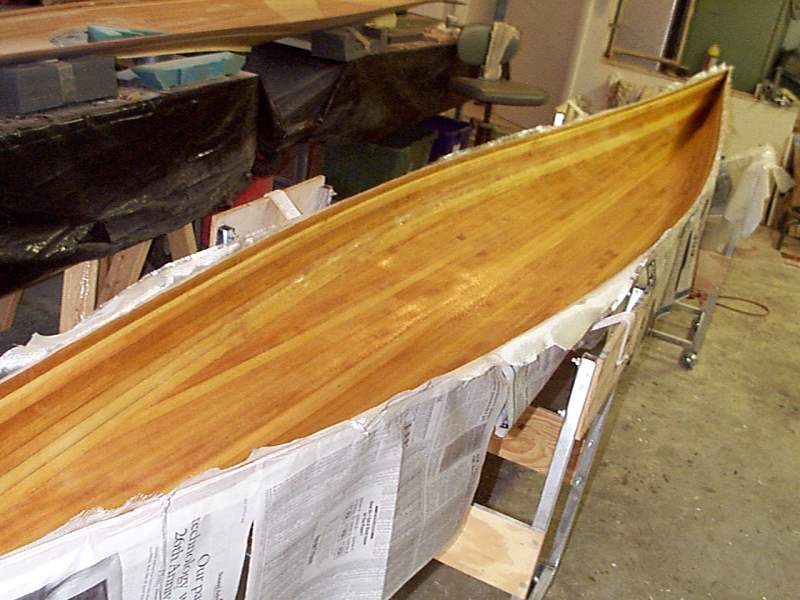
There are actually two layers of 6oz
cloth in this picture. I have a first layer that does not quite
cover the entire hull, but rather the waterline and perhaps a couple
inches above. Over this is placed a second layer that covers the
entire hull interior. I haven't trimmed it yet here, I wanted the
glass to spend a day in this new location because it does not really want
to conform perfectly. Close, but it will be closer yet in the
morning. |
|
|
 |
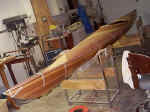
Through the miracle of Internet
photos, the next day arrives. This pic shows the hull immediately
after being wet out with epoxy. I invited a friend of mine, Frank,
to help with the operation. He had never done glassing before,
wanted to learn, so this was good for both of us. As it turns out, it was
very fortuitous that he was there, because the hull interior was the most
demanding of all glassing I'd done so far. Two fillets, two 6oz
glass layers, epoxy hungry wood & cloth, it was a small workout for 2
people. I mixed 24oz initially, and had to mix another 16oz to
finish up. There are no white spots, and no puddles . . . That resin
was absorbed by the wood and cloth! |
 |
In order to insure that the hull and
deck will mate properly after glassing inside and outside, a number of
techniques have been employed. I chose a simple approach - After the
hull interior was glassed, I mated and taped the hull and deck so
there was no alignment error. I applied some masking tape to the top
edge of the hull while it was still curing, and placed the deck directly
over it. I then squeezed where the joining needed to be squeezed,
and applied some strapping tape when the hull & deck were
aligned. I don't need no steenking spreaders! Fast and
simple. |
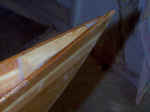 |
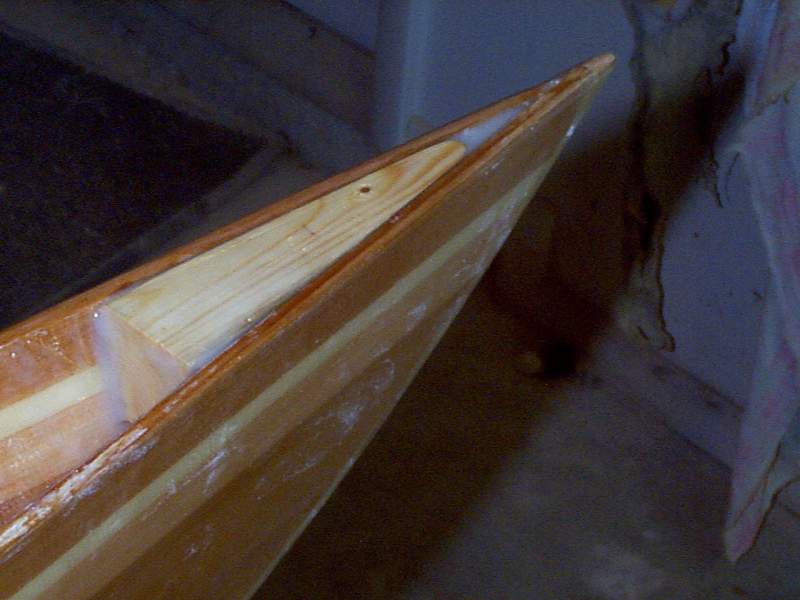
To provide a solid bow & stern
location for a thru-hole I epoxied a shaped spruce form from
a spruce 2x2. I epoxied each shaped piece into the cavities at the
bow and stern using thickened epoxy as glue. |
 |
The inside deck has several layers
of fiberglass cloth draped inside it at this time. There is a 6oz
layer at the forward hatch position, a 6oz layer around the cockpit,
stretching back over the entry mounting position and the rear hatch
location . A third layer of 6oz cloth is positioned behind the
cockpit. A 4oz layer of cloth is draped over the entire deck
interior. |
 |
The deck interior has turned to
a gel after a few hours, and the deck has been taped in place over
the cured hull. When the deck interior has cured to shape, the
hatches will be cut and the coaming glassed in
place. |