|
Cutting Hatches | |
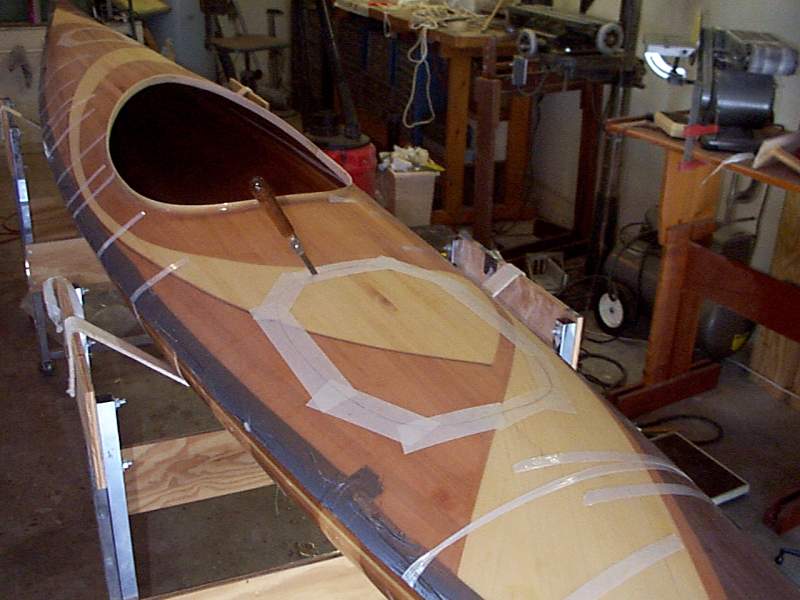 |
The hatch templates have been traced onto the deck fore and aft, over some masking tape which will help protect the surface during sawing. I elected to use a small hand saw to cut out the hatches, because even a small slip or wander would look bad on the cut lines. The rear hatch is pretty large, the front hatch pretty small - symmetry! |
 |
Here the aft hatch has been completely cut out, it took almost an hour counting 2 heat and sweat breaks. It did turn out perfect, with a very thin kerf. So thin, in fact, sealing the edges with epoxy might make it oversize! That is a good problem, however. A 1/2" gap would be a bad problem . . . |
|
Hatch Lip Construction (ala Vaclav) | |
 |
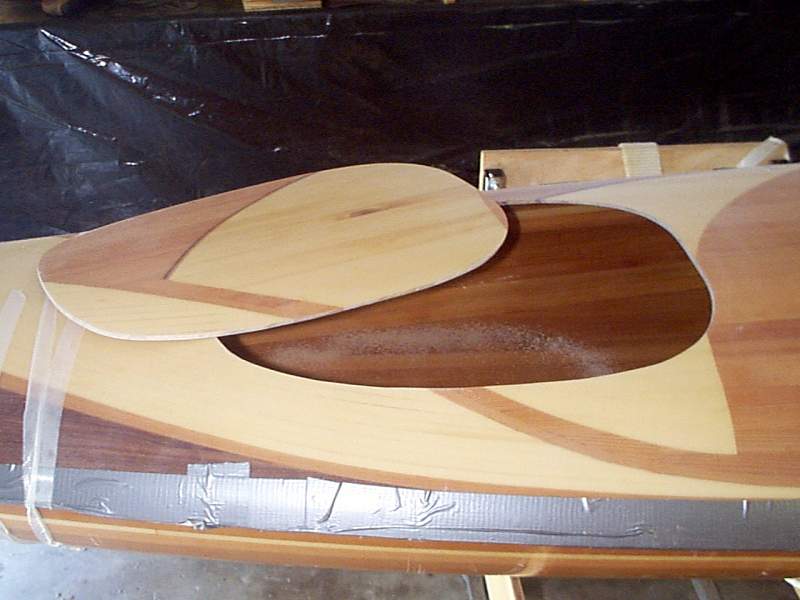
Here I've started building the interior lip for the front hatch, using a "Vaclav" design. Contact brand clear adhesive paper has been applied over the taped-flush hatch and surrounding area, and 1/8" thick x 3/8" wide weather-strip has been laid in place on the inside edge of the cutout. This weather-strip will form a groove in the layup into which the final, thicker weather-strip will be laid. The advantage to doing it this way is that the weather-strip will be compressed tight, but the height of the flush hatch will be determined by the solid fiberglass lip around the periphery. |
 |
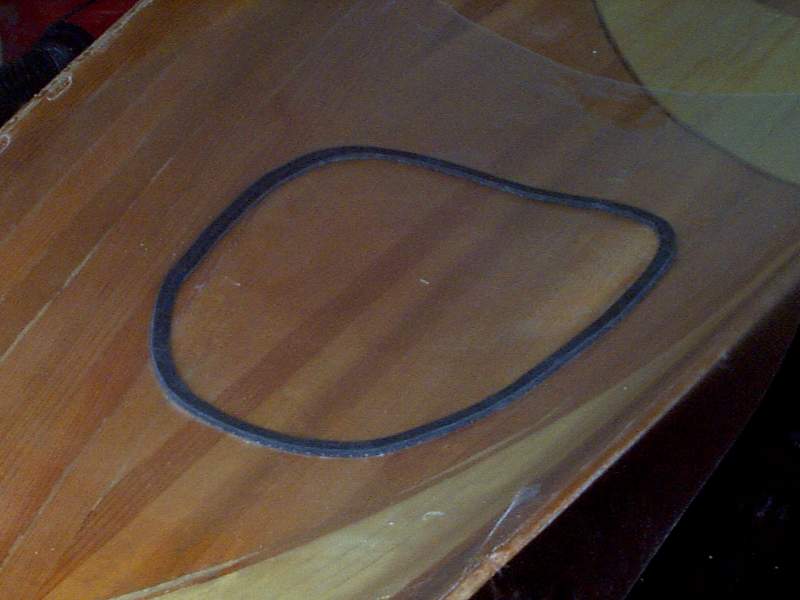
Thickened and pigmented epoxy has been formed into a fillet on either side of the temporary weather strip plug. This is necessary to allow the subsequent layer of glass to remain in contact without following severe right angles around the weather stripping. |
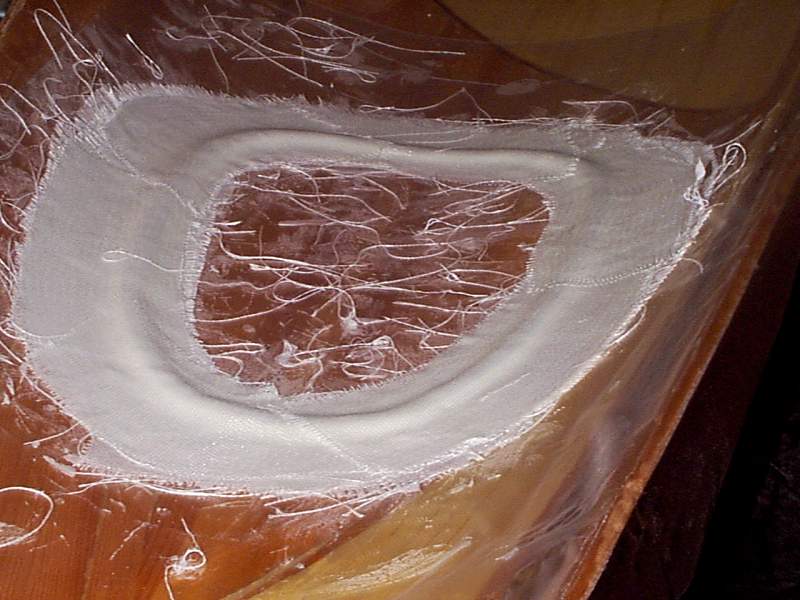 |
Six layers of 6oz glass have been laid up over the filleted temporary weather-stripping plug. The epoxy was lightly pigmented white. |
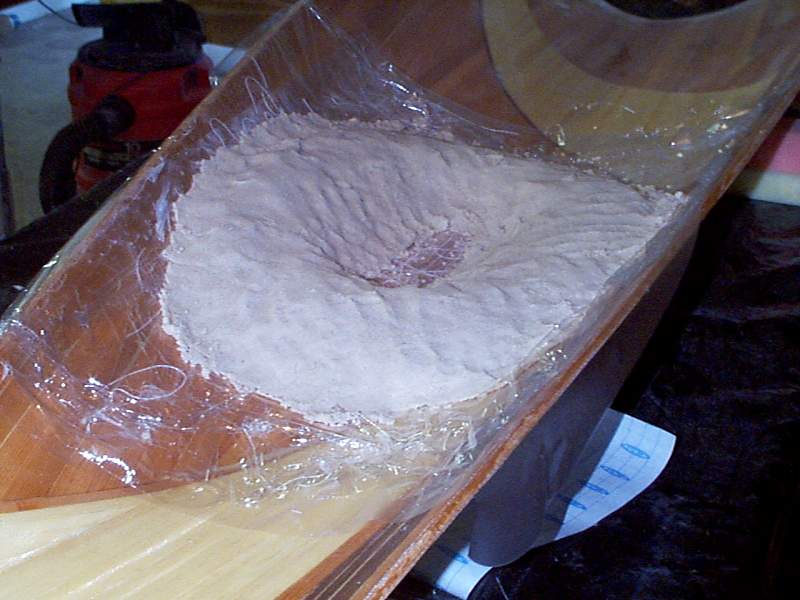 |
Some kitchen plastic wrap has been laid over the layup, and about 10lbs of wet sand has been patted in place over the layup. This will help to keep things flat against the inside deck and the taped-flush hatch |
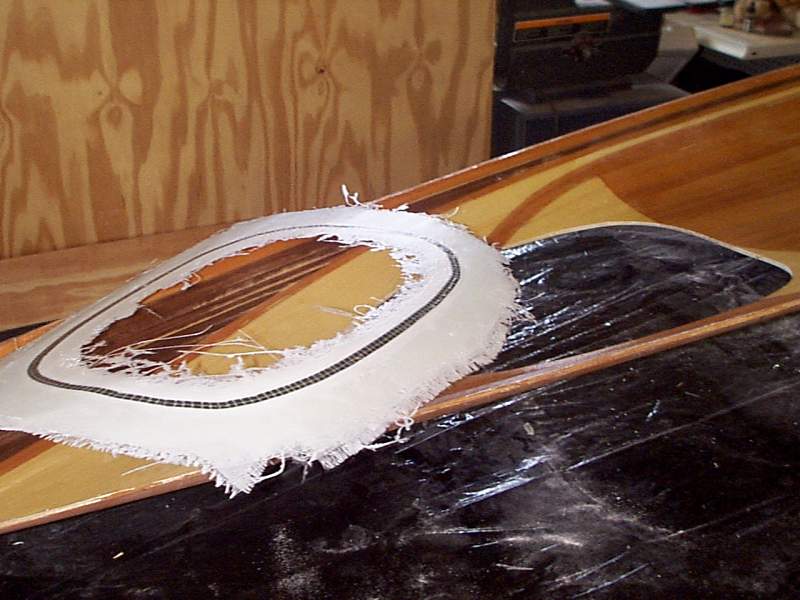 |
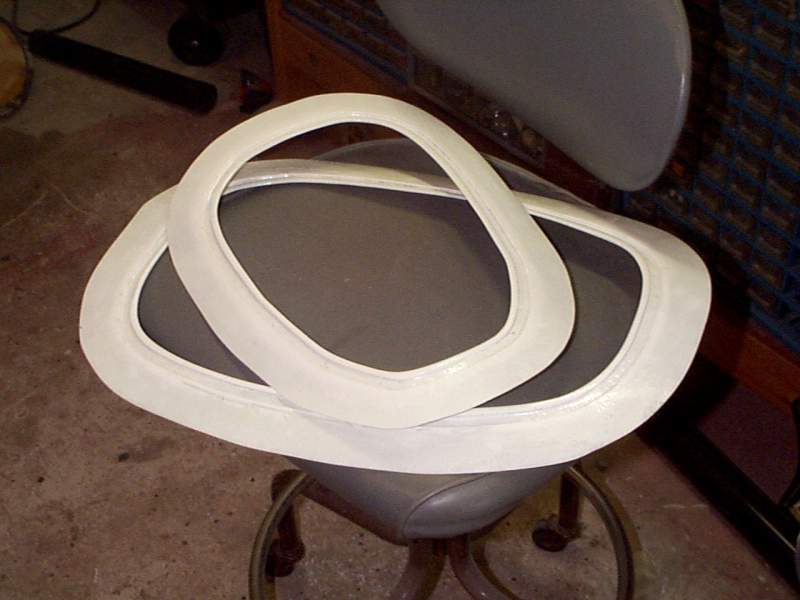
Here is the fiberglass layup I made for the rear hatch, after it was popped from the inside of the deck. The 1/8" thick black weather stripping will have to be scraped out of the lip, of course. |
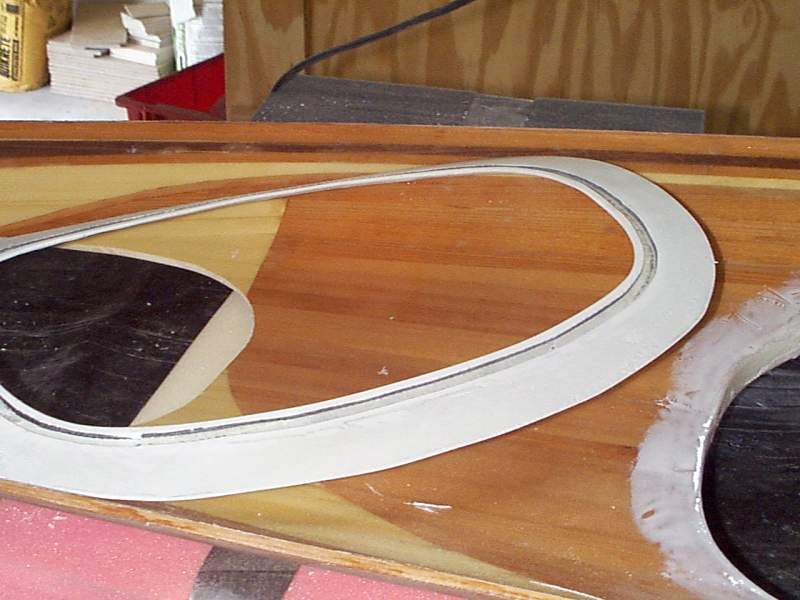 |
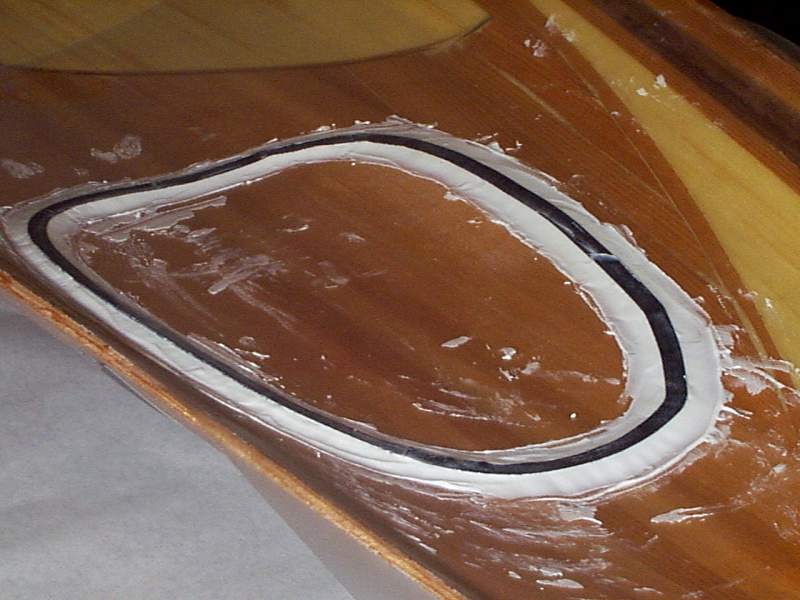
The lip as it appears after trimming and a rough sanding. The temporary weather strip has been scraped out, the groove needs to be sanded clean. Plenty of glass border remains to glue to the underdeck. When the kayak has been completed, thicker weather-stripping will be installed into this groove. and while it will be compressed, the height of the hatch will be set by the thin fiberglass lip adjacent to the weather-stripping. |
 |
The completed hatch lips will now be set aside until the hull and deck are joined. |
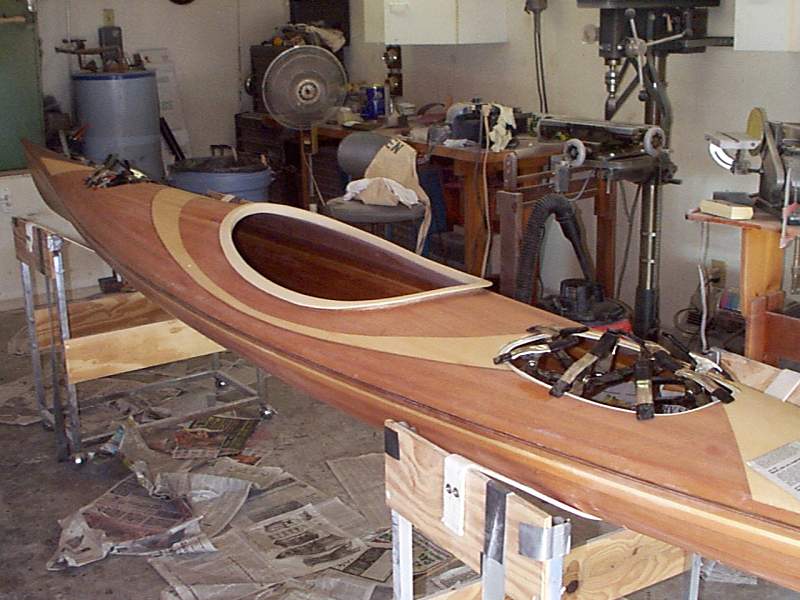 |
After a long delay I'm back at it. Here the hatch lips are being epoxied in place. The hatch lips, fabricated in an earlier sequence as fiberglass lay-ups, are being attached using epoxy mixed with milled glass fibers. |
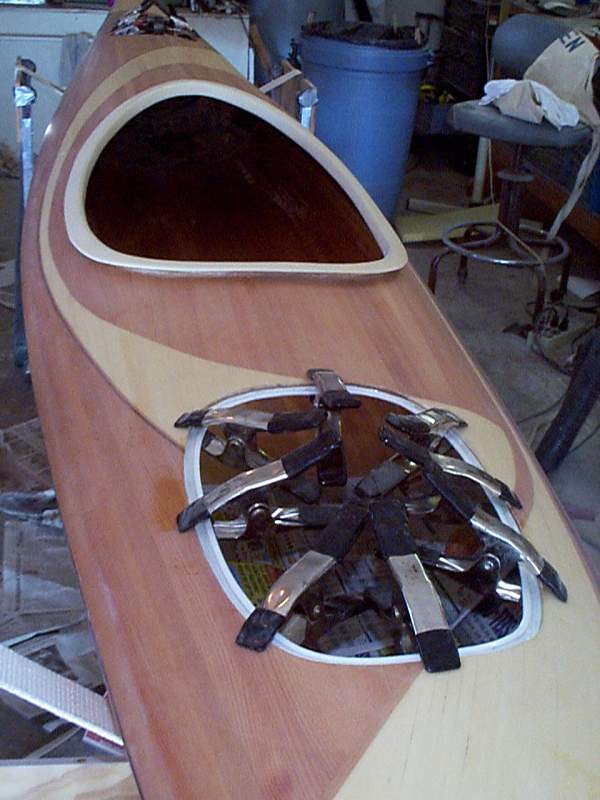 |
This is a close-up of the clamping needed to flush the lips to the underside of the deck. The gluing area under the deck was thoroughly sanded before slathering on the epoxy thickened with milled glass fibers |
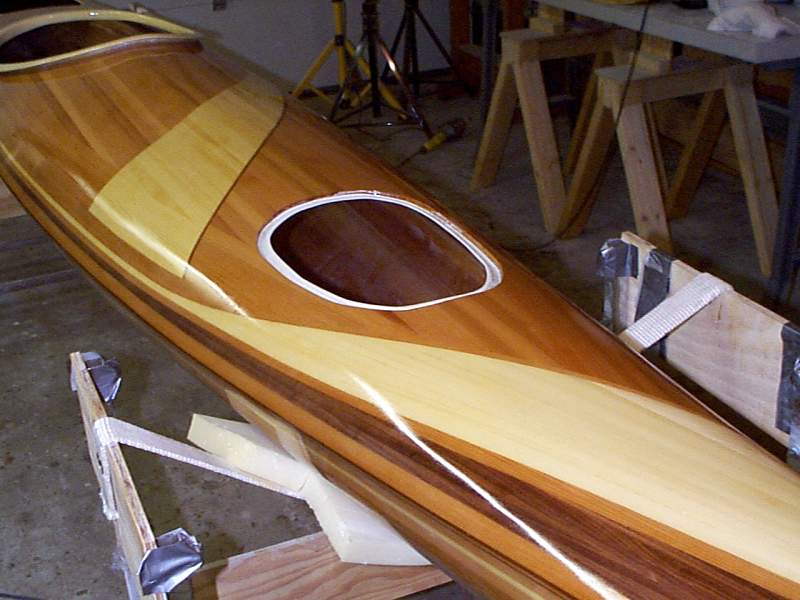 |
Finished fore hatch lip. White weatherstrip will be installed after the deck and lips are varnished. |