 |
I spent this afternoon, 04-09-00,
building the new home for my soon to be detached hull. I was at a
friend's house a few weeks ago, helping him build the forms for the
foundation of his new workshop. Afterwards we were enjoying a beer
and he asked "Hey Ken, do you have any use for these clothing display
racks I'm getting rid of?" Well, I asked him to get his Saws-All so
we could cut off the bottom 31" of them, and here they are in my
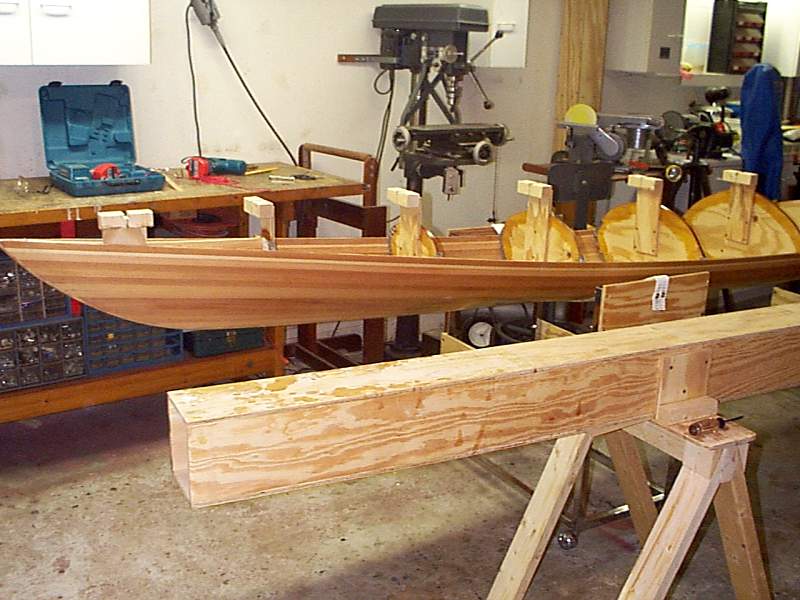
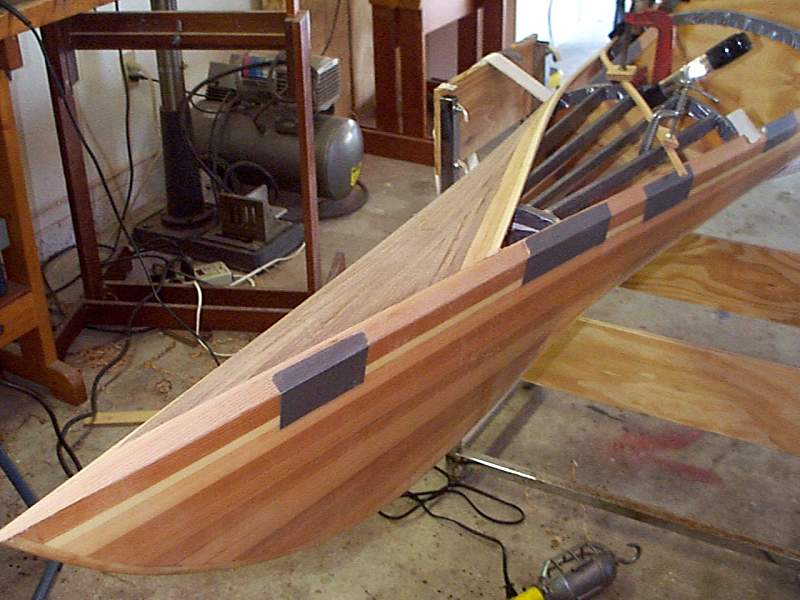
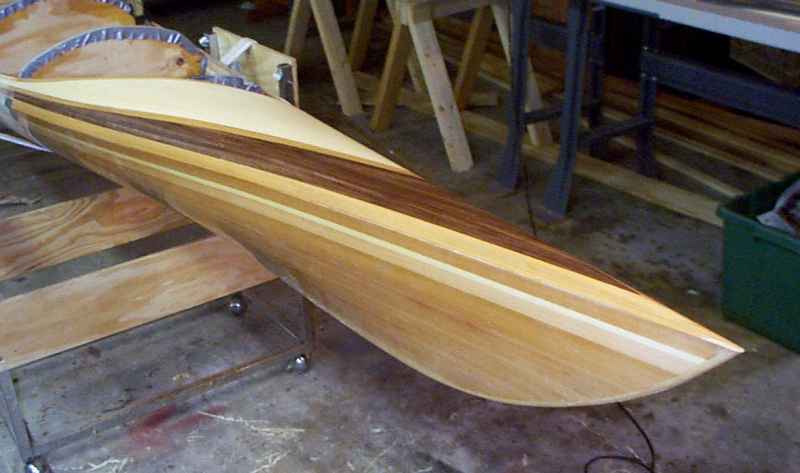
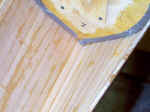
garage. Oh yes . . . Check out the last epoxy coat on the hull . . .
<G> |
 |
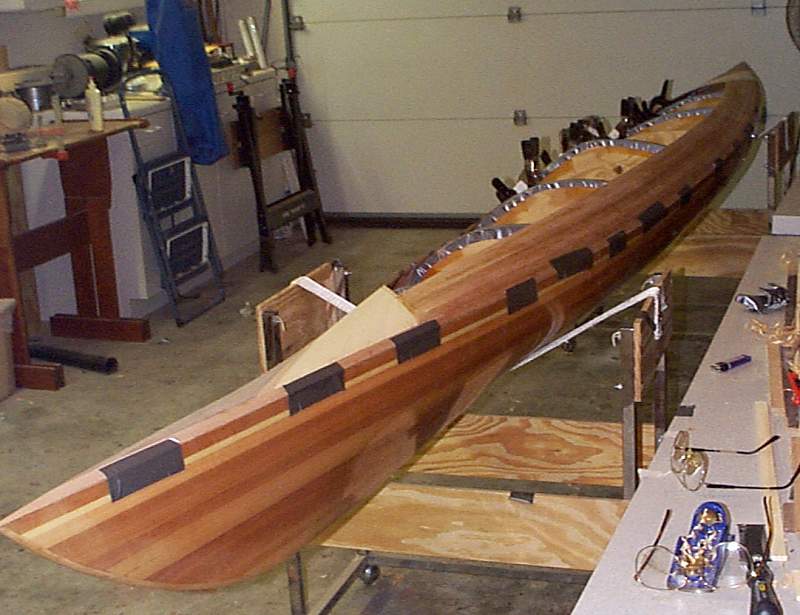
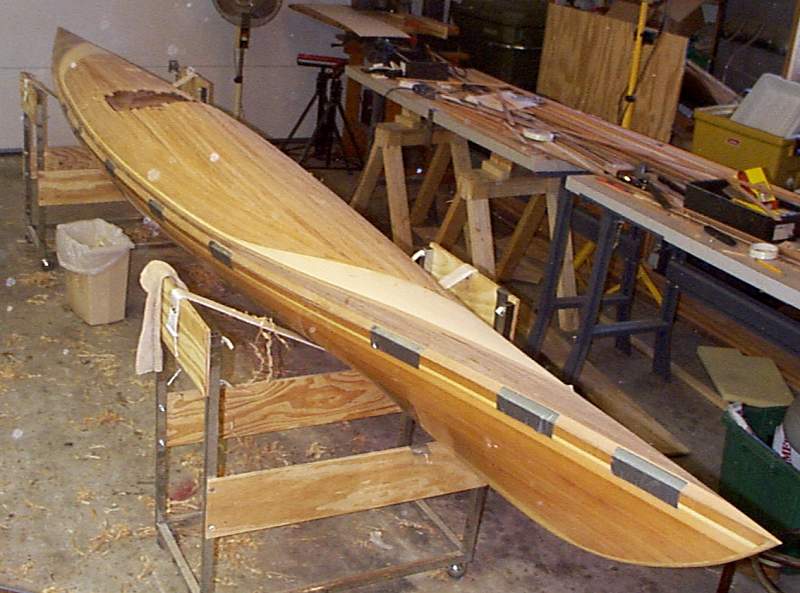
Sigh . . . The hull is free from the
strongback for all times. Seems like the end of an epic saga . .
. Hey, the deck is waiting for me now! A new saga
begins! |
 |
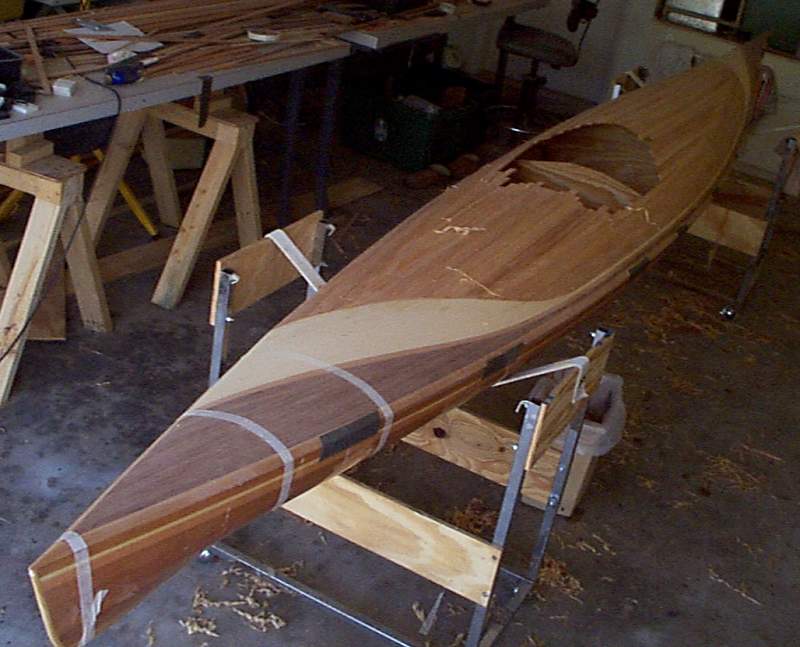
I really thought the inside of the
hull would be a disaster after flipping and getting a good look at
it. It turns out that it looks pretty decent, it should not take a
whole lot of effort to make it look OK and ready to accept the inside
fiberglass treatment. Whew! |
 |
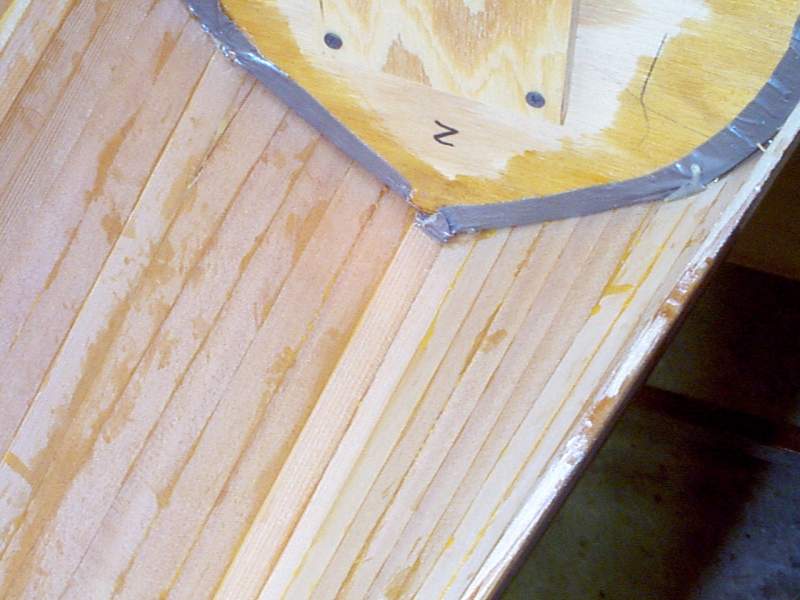
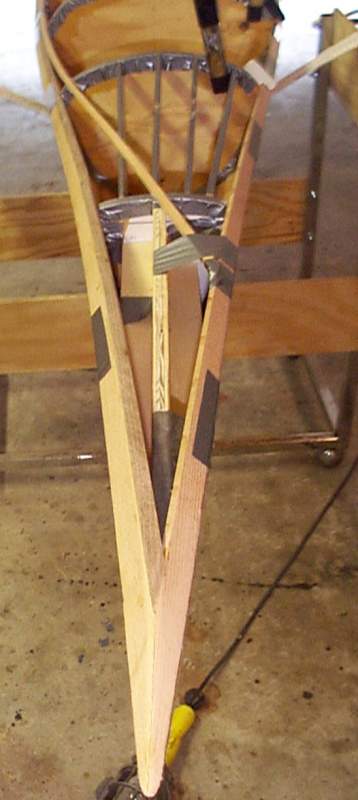
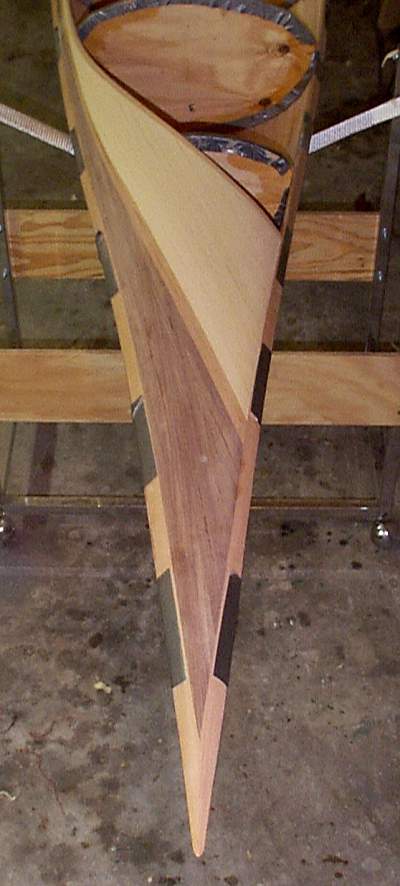
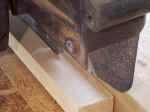
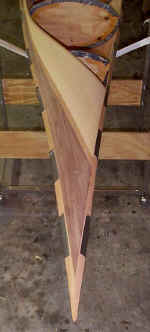
The slight concave curve at the bow
has been a problem to maintain from the onset with just hot glue.
The hull has moved away from the form yet again. The sure fix is to
glue a strap across the hull to hold it together. That is what I'm
doing here. It will be removed at some point, not exactly sure
when. |
 |
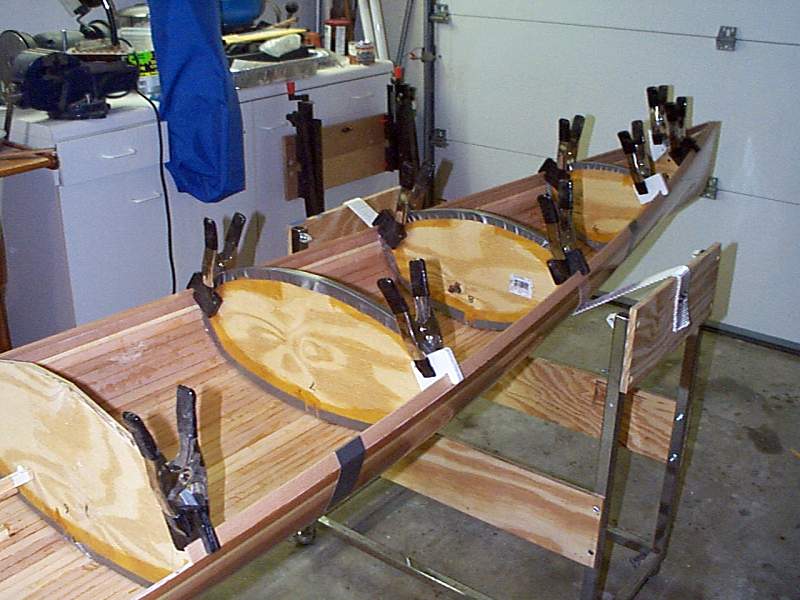
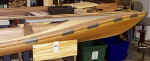
Here are the first two half-strips
being applied to the deck. The bevels are awesome, it took a bit of
time to fit this up, but it should be downhill from this point
forward. |
|
|
 |
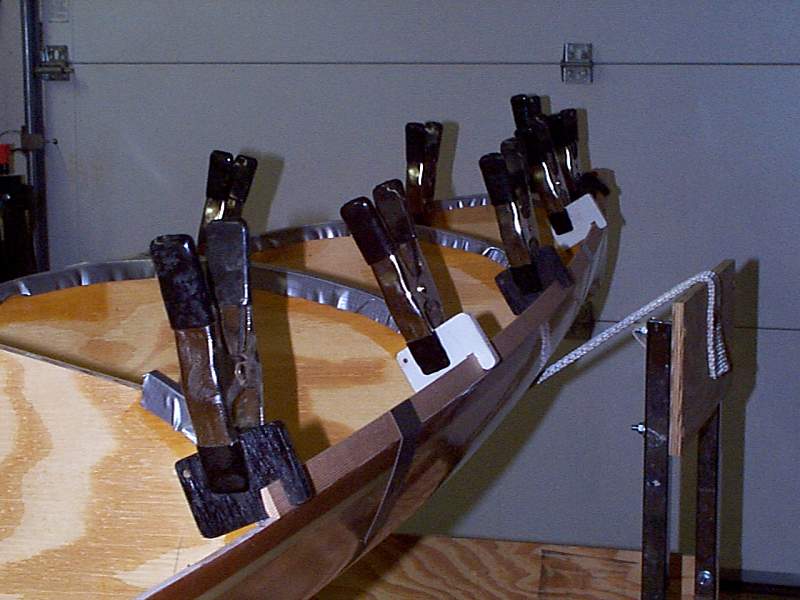
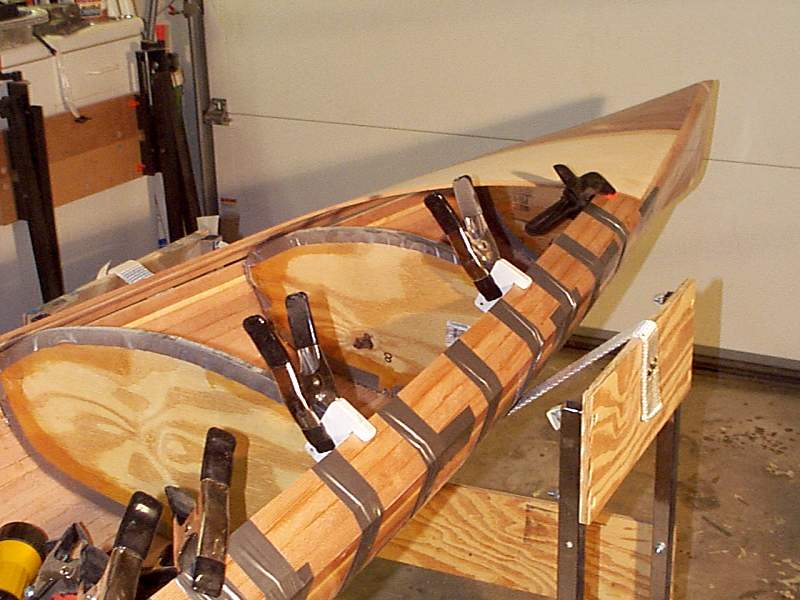
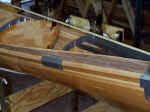
A close-up of the use of the spring
clamps and plywood jigs that hold the strip against the form, and press it
against the adjoining strip at the same time. I built 18 of those
little plywood thingies, and use them for everything. |
 |
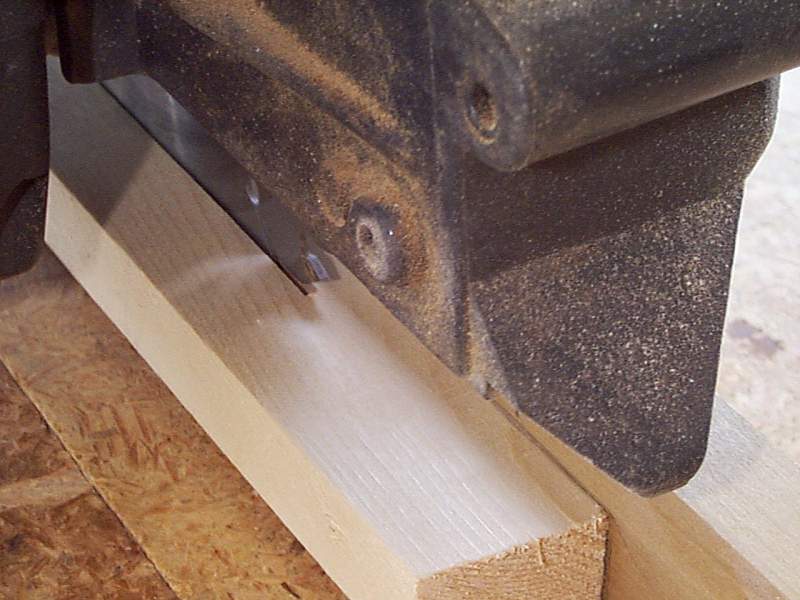
I needed to cut some of my 3/4" wide
strips in half, in order to make some of the severe bends that my deck
design calls for. The radial arm saw was just not meant to rip
thin, narrow strips, as I've said before - It prefers to shatter
them. Then I got the idea to build a table for my radial saw,
turning it into a kind of upside-down table saw. This picture shows
a 16" length of 1x3 screwed into the rip fence, 1/4" above the normal
table. I turned on the saw and slowly lowered it through the 1x3,
until it contacted the original table. It was able to rip my 3/4" x
1/4" strips smoothly and safely. |
 |
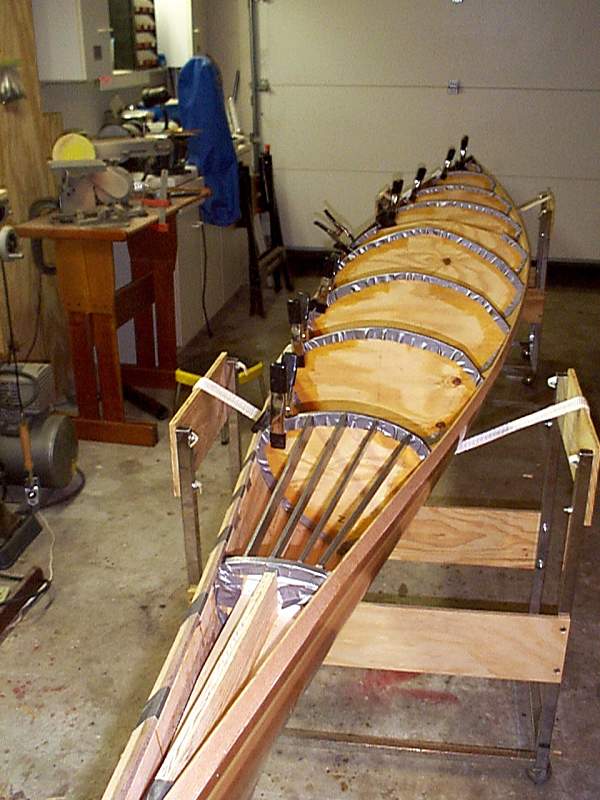
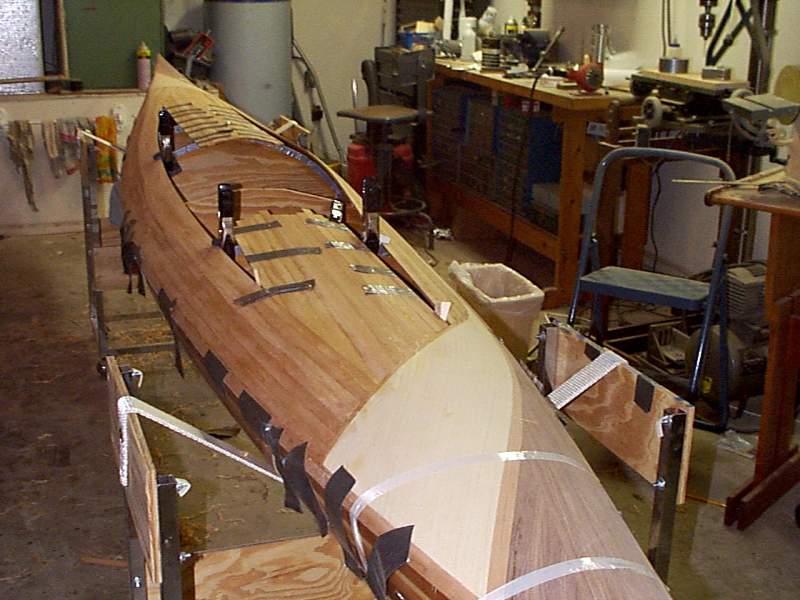
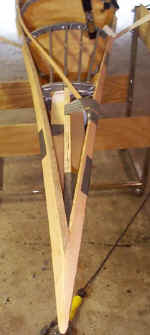
I've installed some stringers
between stations 1 and 2, to help fair the strips I have to lay from sheer
to sheer. I will have to do this at the stern, as well. It remains
to be seen if I can pull this off, as the black walnut just does not like
to bend, even when only 3/8" wide x 0.230" thick - - These stringers
should be easily removeable when the deck is
finished. |
 |
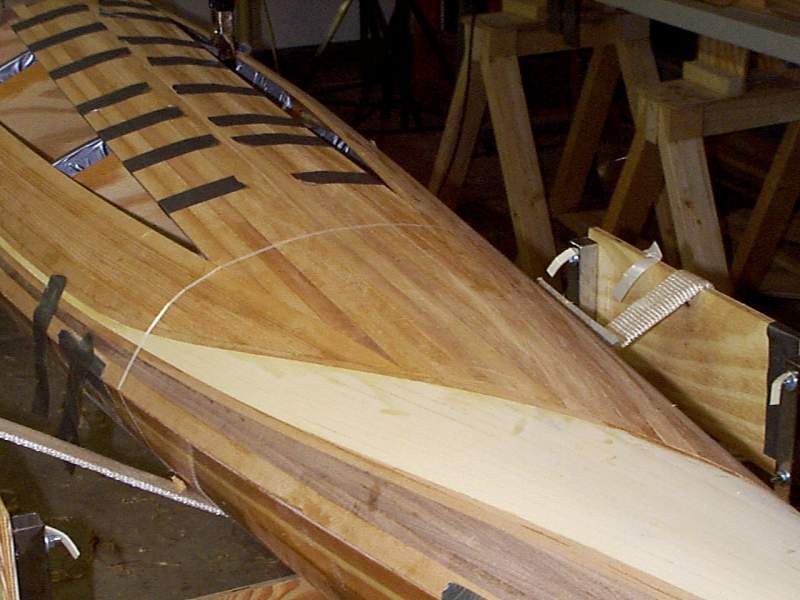
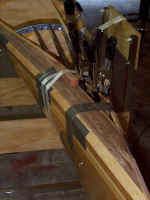
Here's the first thin walnut strip
layed in place - It simply follows the first deck strip, and IT had to be
steamed into place! Hot glue is not great for holding these first
strips to the forms, I could see a real use for staples about now . . .
These first strips are rather tenuously anchored to the hull at this
point, but things will improve as more strips are
added. |
 |
The first cedar sheer-to-sheer strip
has been layed, and it traces a fair contour about the forms and
stringers. All I have to do is fill in the now enclosed deck area,
and insure that the rest of the walnut strips behave
likewise. |
|
|
 |
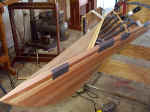
Some walnut strips have been laid in
place, showing the "swooping" lines that are
developing. |
 |
Here's where the swoop begins, I
like this appearance quite a bit . . . |
 |
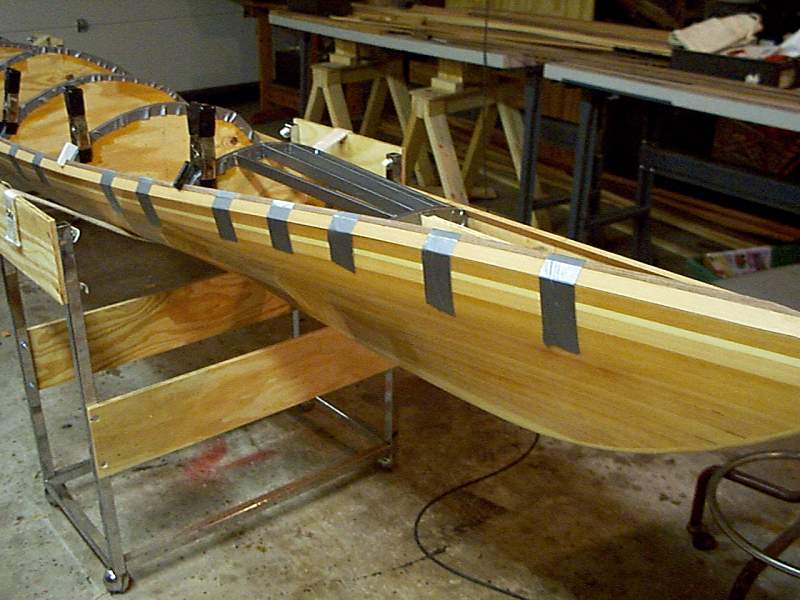
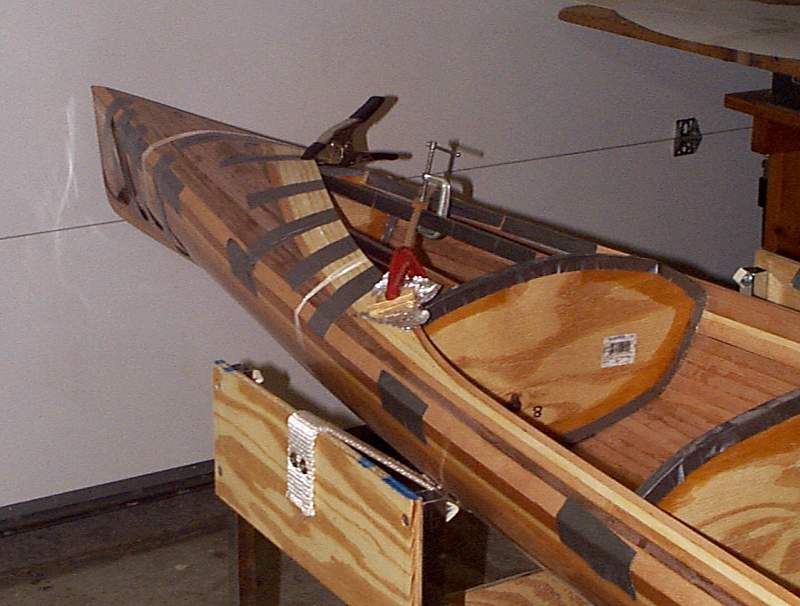
Walnut strips at the bow are
completed, a swooping and widening cedar spacer is added, and the first
spruce strip is in place. Note also the second cedar strip clamped
in place 15" or so back, it defines the contours and end of the spruce
layup. |
 |
View from the other side.
|
 |
Almost an overhead view of the
bow. |
 |
Stripping is proceeding slowly
because of all the shaping, fitting, twisting and curving that must be
done for each narrow (< 3/8") strip. |
|
|
 |
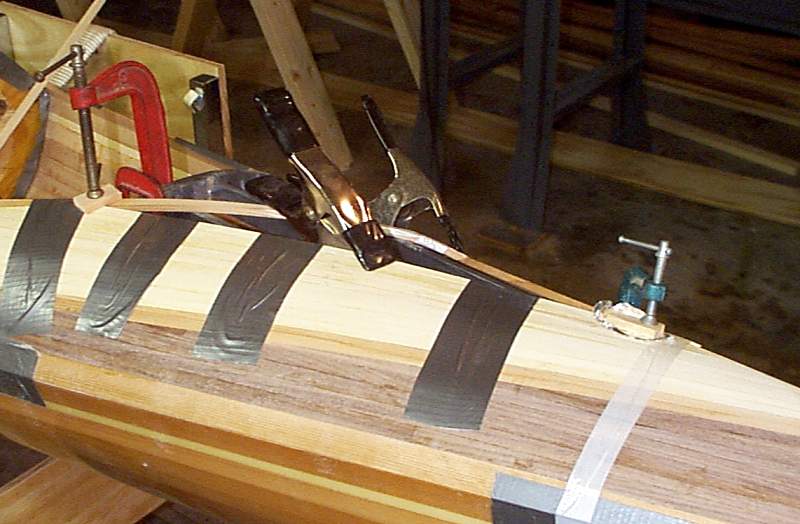
Here's the kind of clamping and
taping that must be done for each strip. |
 |
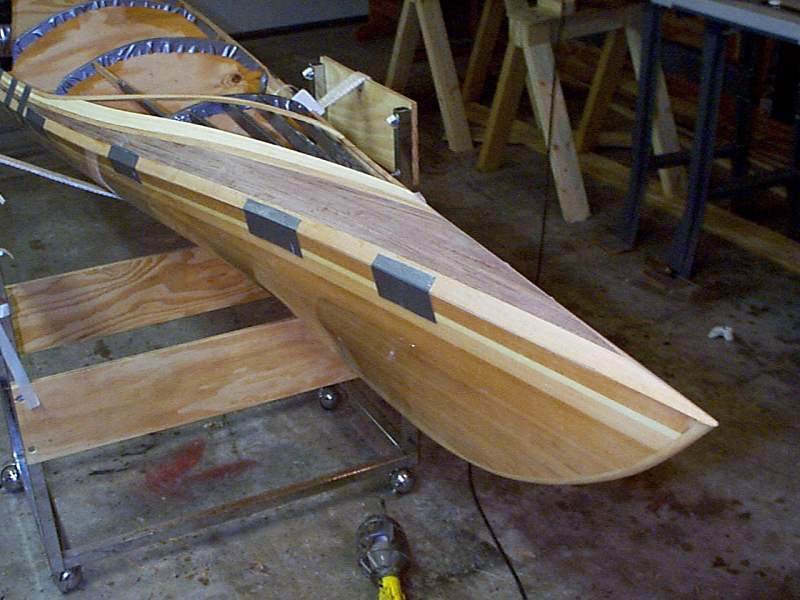
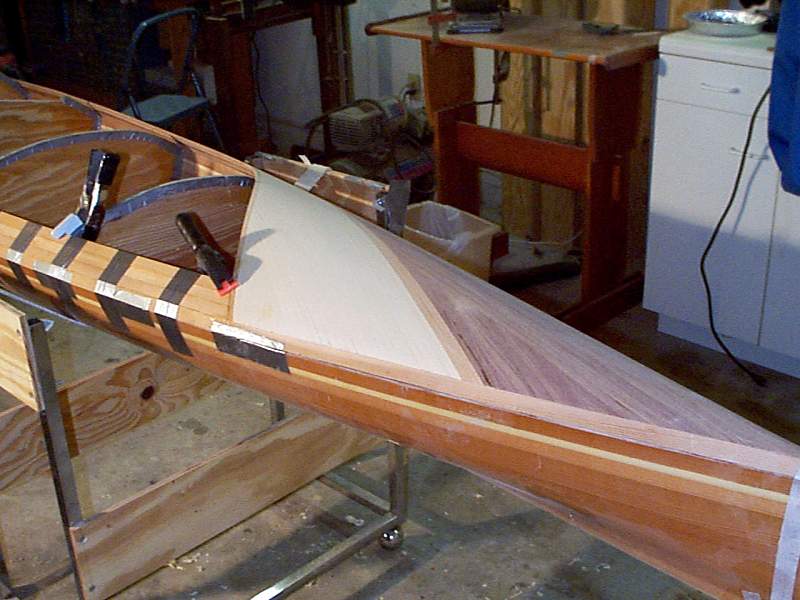
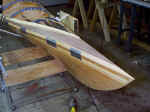
The front swoops are now completely
stripped in place, and after rough planing and sanding to shape, I wet it
down and took this pic. The spruce strips are very unforgiving and
very white, meaning every last glue line is absolutely
visible. |
 |
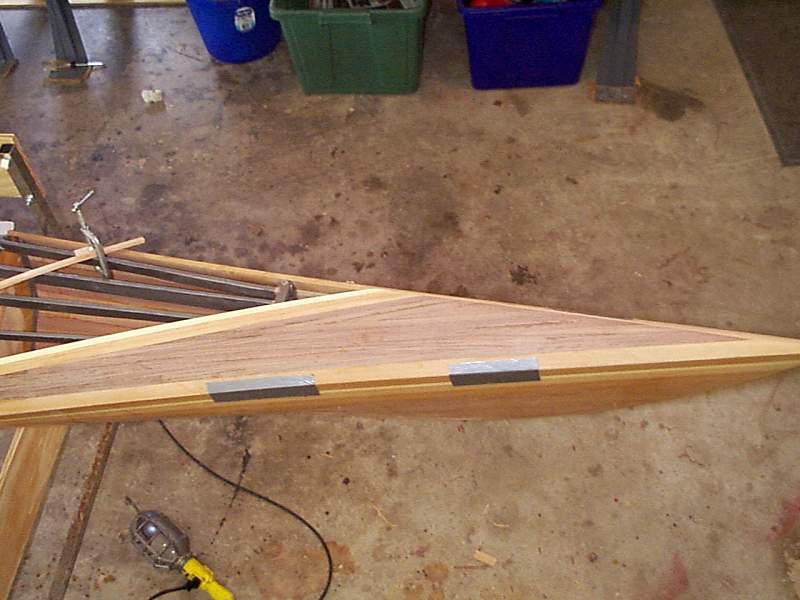
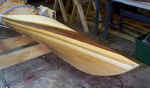
An Overhead view (This is for you,
Jerry) of the completed bow design. The swoops from one sheer to the
other look great, but I do not recommend this to anyone who values his
time. It takes forever. A simpler way out would have been to
strip these areas parallel to the centerline. It would not look as
finished, but the deck would have been done by now! |
 |
Now I am doing the same thing at the
stern. In order to be consistent with the technique started at the
bow, here goes more tedious fitting. When it is done it will surely
be a unique deck pattern, as no other idiot would ever waste this much
time stripping . . . (?) |
 |
Oh, but it does look nice . .
. |
 |
This is another attempt at a
composite picture - - The scale is way off because the bow and stern
photos are taken at an angle & artificially adjusted to fit together,
& hence they are severely foreshortened. It gives a
better idea of how much (little?) bow & stern stripping exist in the
grand scheme. |