 |
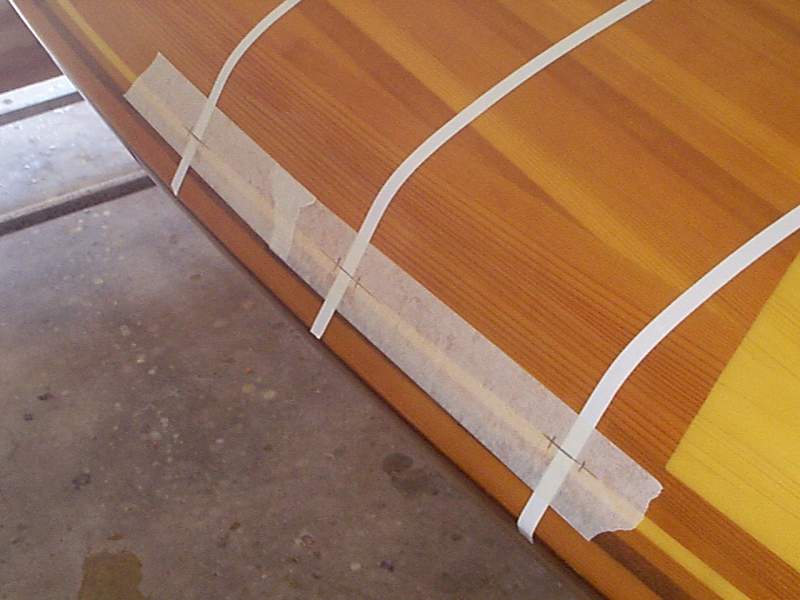
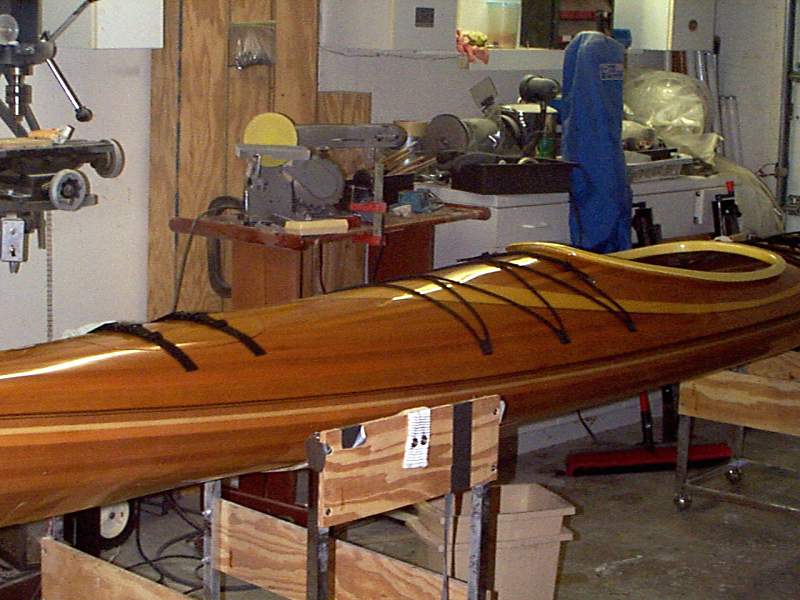
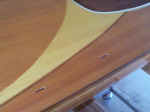
I decided to go with soft
webbing loops Like Joe Greenley uses. Before final buffing of the
deck, I laid out the slots for the bungee attachment points. I
literally laid it out with tape so there would be no surprises as slots
were cut on each side of the deck. They accommodate the loops of webbing
very snugly. |
 |
Here's a couple of the
aft slots. I drilled a series of 1/16" holes, cut them through with a
small saw, and filed them to a precise rectangular shape. You need a
very thin file for this operation, as the slots are either 1 or 2
thickness of nylon webbing, depending on where it is
used. |
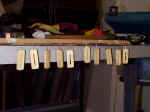 |
10 little web-loop
holders have been cut and slotted the same way as I did the deck
slots. I dipped them in thinned varnish to let it soak in, and hung
them to dry. I don't expect that these will be getting wet, but
better safe than sorry. The wood is 2" long pieces of the spruce
strips I had used as trim strips on the kayak. |
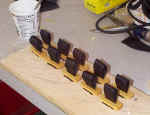 |
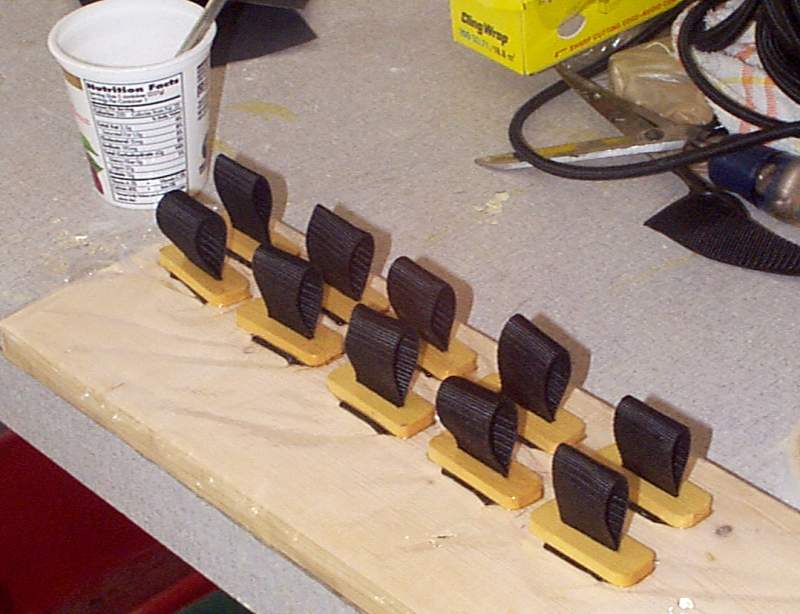
I cut 4-1/2" long pieces
of 1" nylon webbing, and stapled and epoxied the webbing under the wooden
holders. Here they are standing on a plastic wrapped board while the
epoxy cures. The epoxy wicks right through the webbing making the
web-block a solid piece. It does NOT wick up to the loops,
however. |
 |
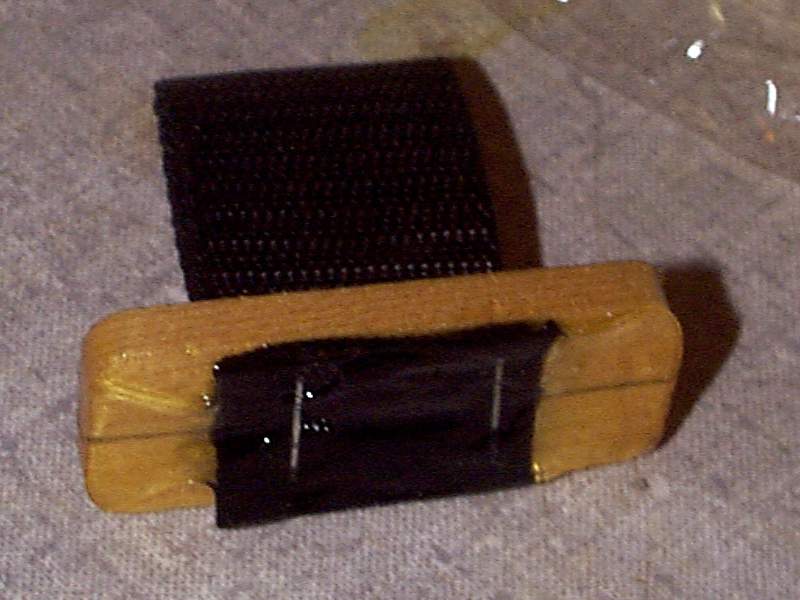
This pic shows the
underside detail of the webbing loop. Two 1/4" staples (I finally
used those things) are driven through the webbing into the wood piece to
hold the webbing flat during the epoxy stage. Epoxy was then
flooded onto the bottom, wetting the webbing thoroughly, and making the
entire assembly one piece. The loop of webbing did not wick the epoxy, and
remains flexible. |
|
|
 |
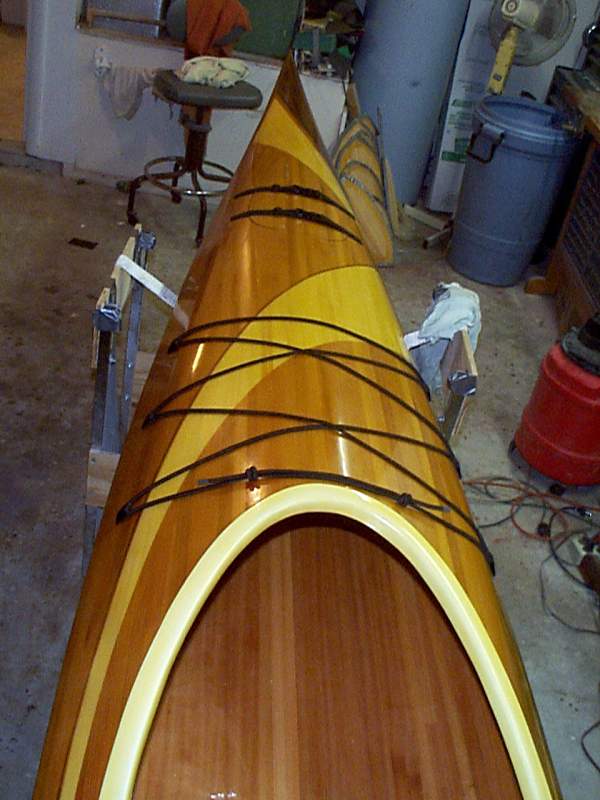
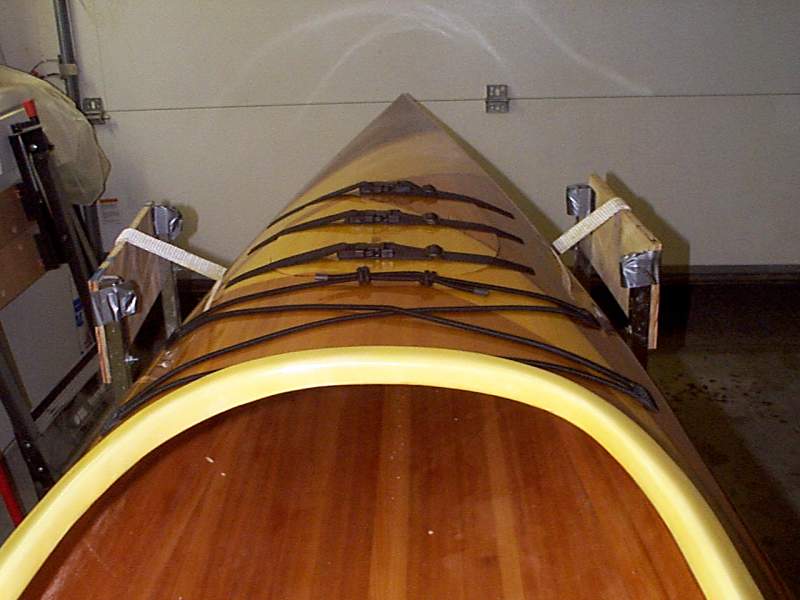
Here's what the bungee
loops look like when they're inserted from the inside. A bead of
silicone RTV will be placed around the loop side of the block, and then
the blocks pressed into place. As Joe Greenley pointed out in a post
a year or so ago, RTVing the loops in place allows for easy removal when
it's time to refinish the deck. I still have to buff the deck, after
which time they will be RTV'd in place. |
 |
After buffing the deck
(I'll put up some non-flash outdoor pictures soon), I finished the deck
rigging. |
 |
The hatches are held down
with webbing and buckles, and the arrangement sure does seem snug. I
can't imagine a hatch coming loose under most any circumstance. I
used 2 belts on the smaller front hatch, and 3 on the aft
hatch. |
 |
View looking forward -
The weather stripping was placed into the hatch grooves today, and the
closed cell foam is holding the hatch up from the internal lip that serves
as a flush stop. I believe the foam will compress and allow the hatch to
sit fully flush in a few days. At this time it takes a LOT of
pressure to compress the foam to 1/2 height, which is the design
goal. |
 |
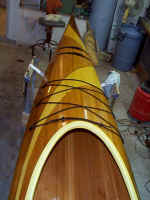
Aft view of the rigging -
I really like the way the soft web loops look. Thanks for the idea,
Joe Greenley. |