|
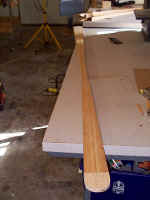
To begin, I've determined the
following basic measurements from guidelines based on my body and kayak
width dimensions - Overall length, 84", maximum paddle width 3-1/4", loom
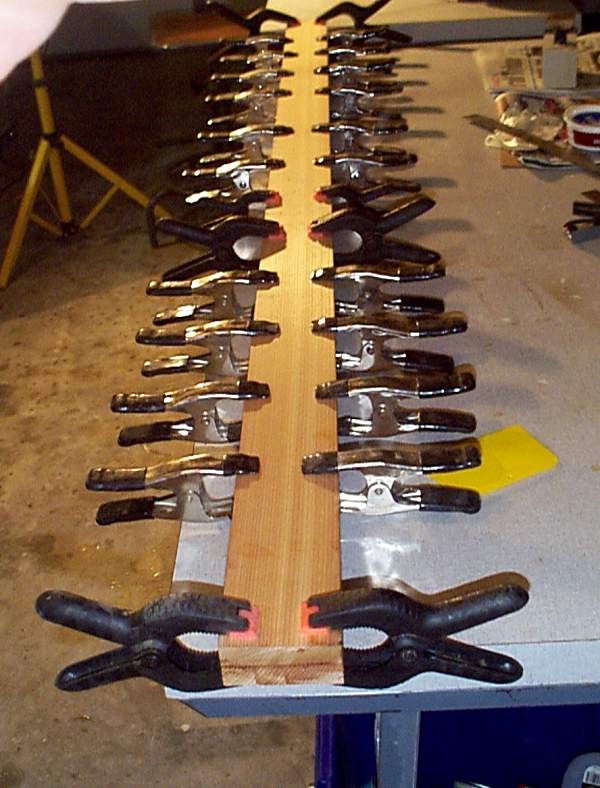
18". Construction starts with two 1x4 Western red cedar
boards. I have cut them to 79", and glued them together to form a
straight, strong 2x4 using epoxy thickened with 1/64" milled glass fibers.
To view some enlightening information as to how to design and use
Greenland Style Paddles view
Chuck Holst's great instructions in
PDF format |
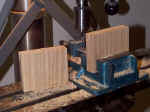 |
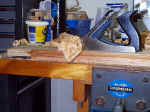
These are 3-1/2" x 3" x 13/16"
blocks of ash. I milled 3/16" wide x 1/2" deep grooves into the end
that will attach to the cedar plank, to provide abrasion resistance at the
tips of the paddle. If you have never worked with ash, it is some
tough stuff, and should provide lots of protection. The slots could
also be easily done on a table saw, but I only have a radial arm saw at
the moment . . . That is just unsafe for a cut like
this! |
 |
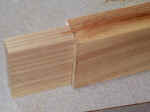
I cut corresponding tongues onto the
ends of the long cedar blank using my radial arm saw, pretending my blade
was a dado. The grooved ash tips fit snugly onto the cedar
tongues. |
|
|
 |
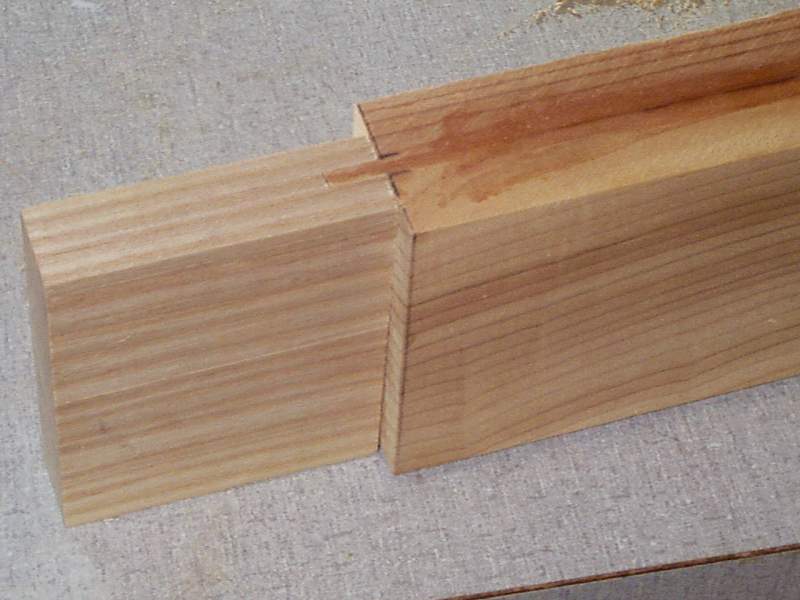
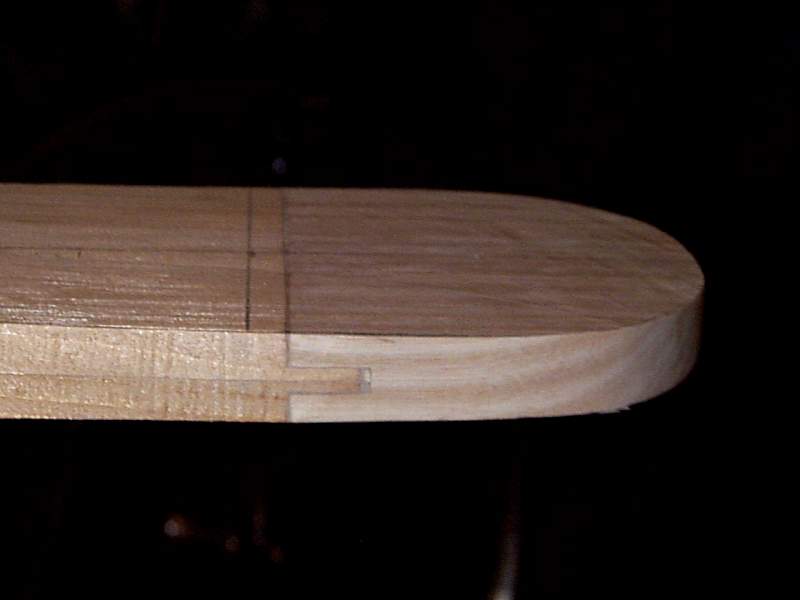
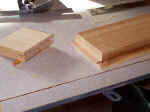
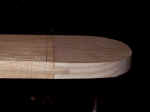
Here's a trial fit of the tip to the
blank. It will be glued with epoxy thickened with milled glass
fibers. The reason the tip is thinner than the cedar blank is that
the composite blank will be tapered to 1/2" at the tip, and the ash is
actually 13/16" thick - Plenty thick enough after trimming. The
reason the cedar has to be 1-1/2" thick is because the finished dimensions
at the handle and blade roots approach that
dimension. |
 |
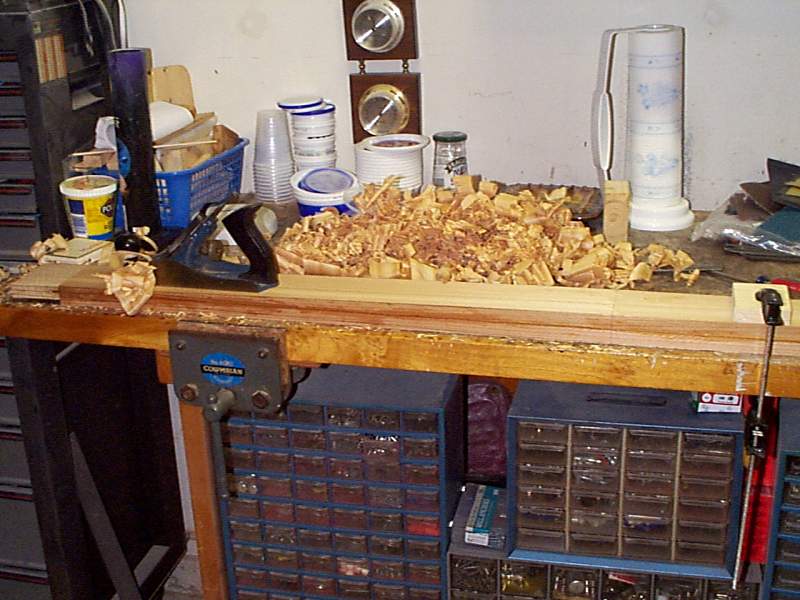
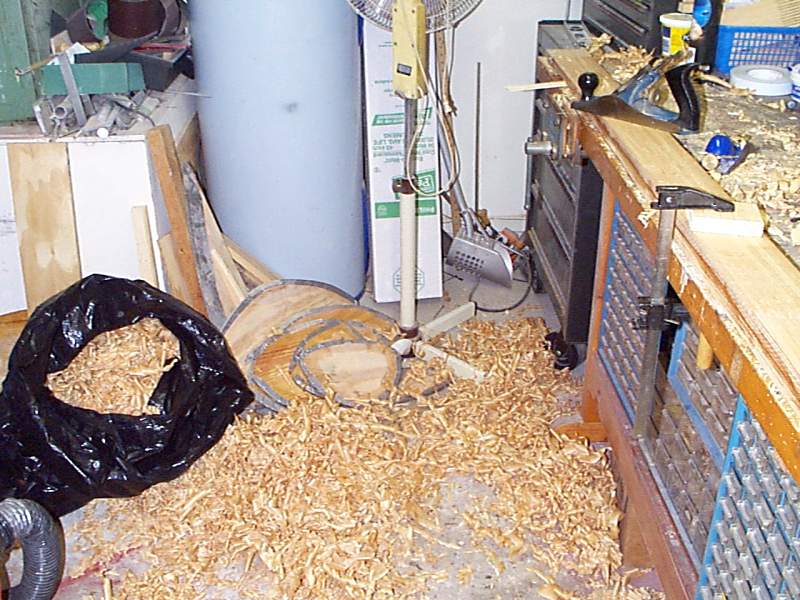
The "Work Ethic" has taken over . .
. Sharpening my jack plane, I start to create lots of curls of
cedar once again. The trim lines have been pencilled on the sides
of the blank, and all that is required is arm effort to plane the blank to
fit. When I finished this end of the blank, 1/2lb of wood had been
removed . . . |
 |
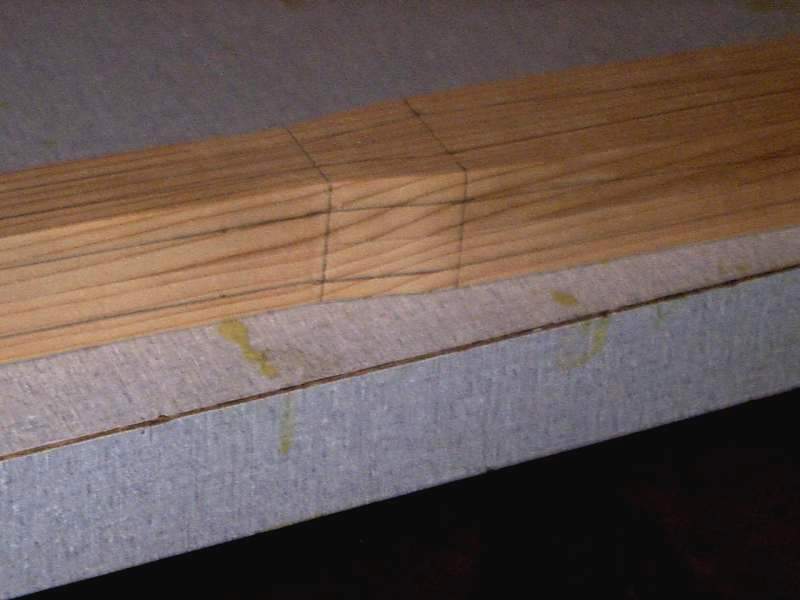
A closer view showing the scribed
lines on the blank, and the attempt to plane away enough cedar and ash to
follow those lines. The "Main Plane" is my old Stanley jack plane,
and I follow up to trim the surface to spec with my Record low-angle block
plane. |
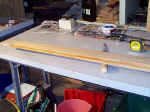 |
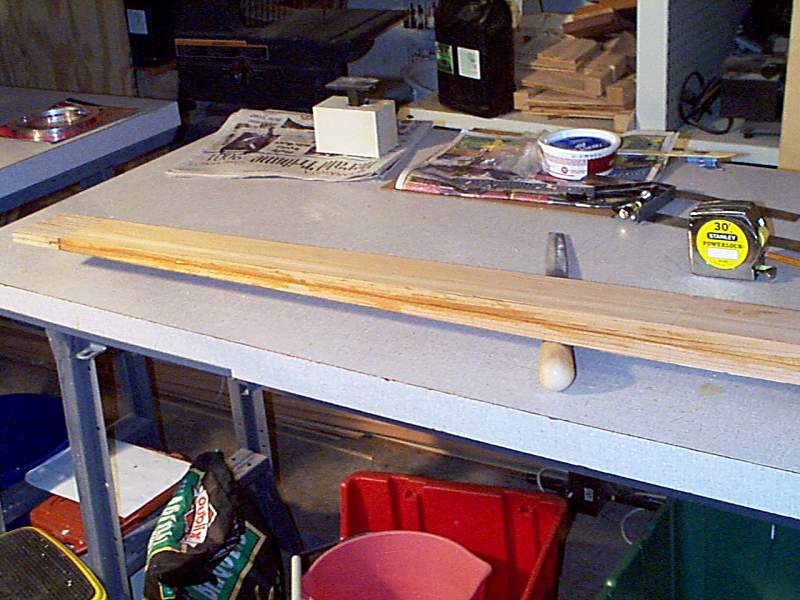
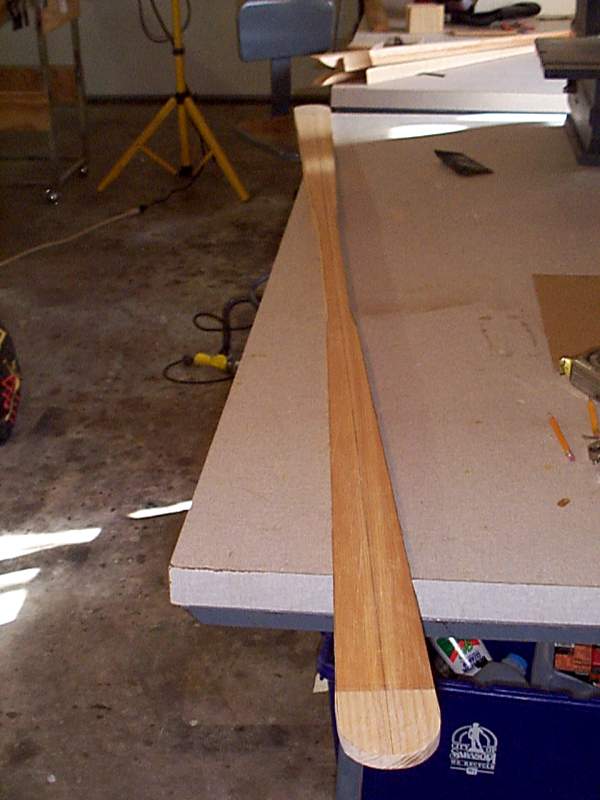
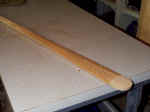
One paddle has been tapered in the
thickness plane, when the other end is completed, the blades and loom in
the next plane will be bandsawed into shape. It doesn't look quite
like a paddle yet, but it's getting there . . . |
 |
This builds great arms . . . "plane
until you drop" . . . Great for preparing for arm wrestling with
your buddy. Shaping a paddle leaves so many shavings, and when you
consider that each shaving is one one arm sweep. And we have yet to
begin . . . |
|
|
 |
Now it's time to shape the paddle in
another plane. I have drawn the lines onto the blank and it's ready
for the band saw. |
 |
Here it has been sawn to rough
shape. Some planing along the edges to true up to the marked lines
will make it ready for the next step. |
 |
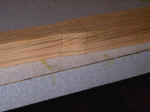
A quick look at the tongue and
groove joint securing the ash tip. |
 |
The blank looks like a mosaic of
lines after measuring and drawing all the bevel lines. I don't think
there is a square inch of paddle without these lines. If you don't
like to measure, scribe, and plane this is not your project. If you
like these activities, you'll love it! |
 |
After a bunch more planing, I have
carved the blank to the scribed lines in all dimensions.
Surprisingly, I was able to do all carving with my 6" Record low-angle
block plane. I thought I'd need a spokeshave for sure on some of the
"inside" bevels. The paddles are very angular at this point, with
lots of hard lines, per Holst's plans. |
|
|
 |
This is the first paddle end rough
planed & sanded to shape with #60 paper & block.
Essentially. all the sharp angles are planed & sanded to smooth
curves, and the various angular sections are blended into nice flowing
contours. |
 |
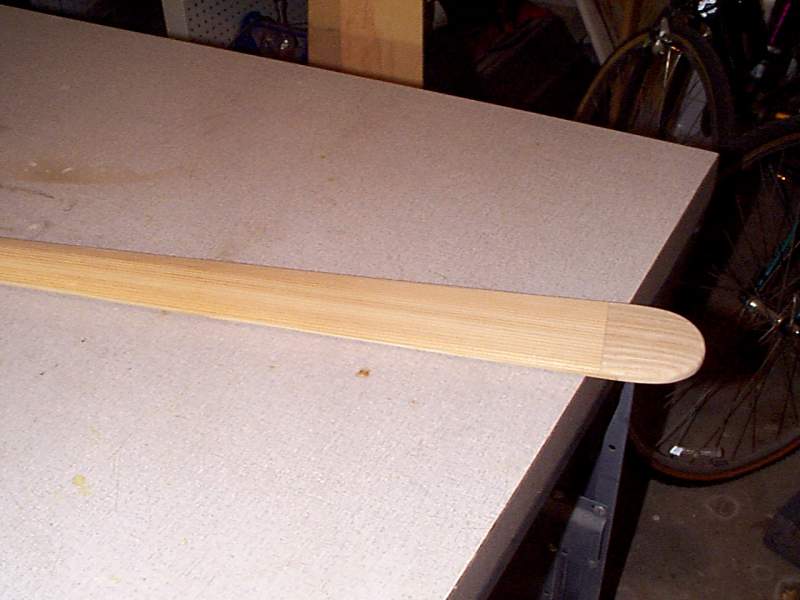
I went through progressive sandings
of 60, 120, 240, and 400 grit paper. Then came the application of
varnish with a rag. The grain is outstanding after 2 coats, and the
tongue & groove assembly of the ash tip to the cedar paddle stands out
nicely in this photo. |
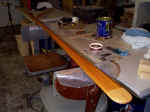 |
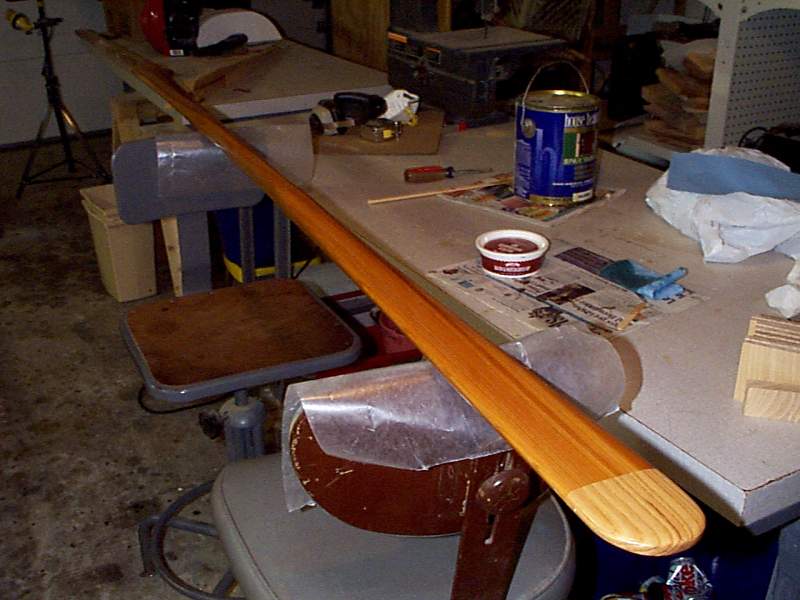
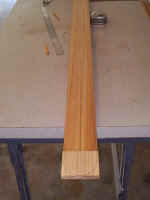
A more laid-back view of the
assembly after 2 coats of varnish. Two more coats will be applied,
and then this paddle will be put into service . . . It still looks like a
stick . . . 8^) |
|
Finished all-up weight of this
paddle, after a total of 4 coats of varnish, turned out to be 1.7
lbs. |
|
|