| Wetting out the Glass | |
 |
The 6oz glass cloth has been draped over the hull and smoothed with a long drafting brush. There is no epoxy "precoat," so the glass is laying directly on the wood. It is very hard to reposition this way, so I tried to lay it flat the first time. A few wrinkles are inevitable I guess, but brushing back and forth at a 45 degree angle tends to flatten them out. Any irregularities in the weave of the cloth are inconsequential, as they will absolutely disappear when the cloth is wet out. Creases would be another matter, as they may prevent the cloth from laying flat against the wood. The cloth is only 30" wide (I got a real deal), so there is not much extra at the wide part of the hull. You might say, "just enough" . . . All is ready for my "teacher" friend, Dan Yarbrough's arrival, later tonight.. |
 |
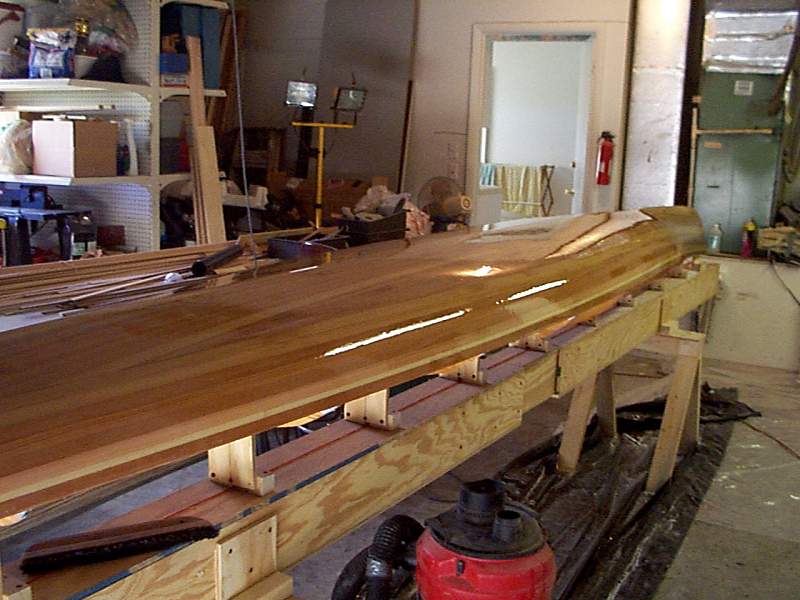
The glass is already completely wet out and squeegeed. It took only 45 minutes to completely wet the glass, place the four reinforcement strips at the stems, and glass those as well. The reinforcements consist of 2 additional layers at the bow and stern, for a total 18 oz layup at the high wear and abrasion points. I cut the 6oz cloth used for the hull layup to create 6" and 4" wide bias-cut strips which wrapped easily around the stems fore and aft. |
 |
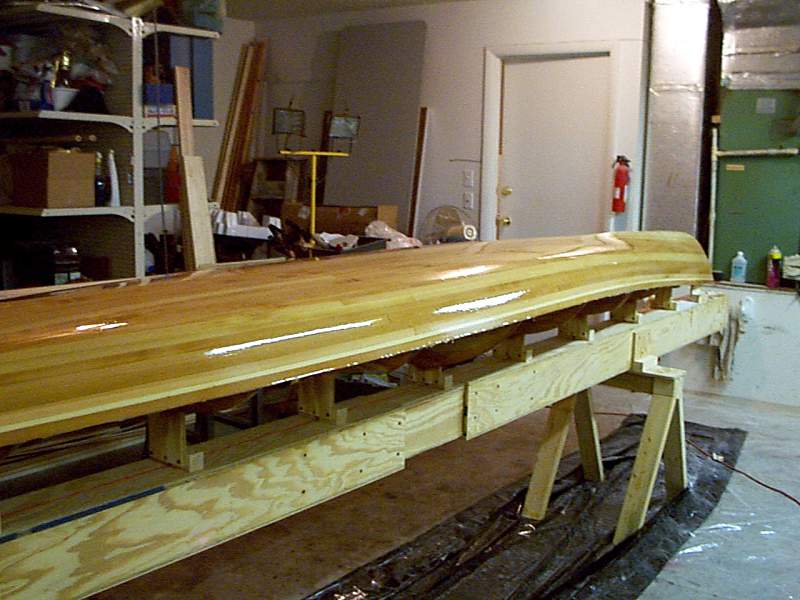
My friend Dan has been building boats and surfboards for 40 years, and showed me the right way to perform the layup. Mix the epoxy in generous quantities so you don't keep running out, and then pour and spread. I mixed 24oz to wet the whole hull in one shot. The next mix was 12oz and we were done. Here is the aft end, Complete with 3 layers of glass at the stern stem, just as at the bow - - The first added strip is 6" wide, and the next is 4" wide - - They each run 4-5 feet up the keel, Per Rob Mack's instructions for the Georgian Bay. |
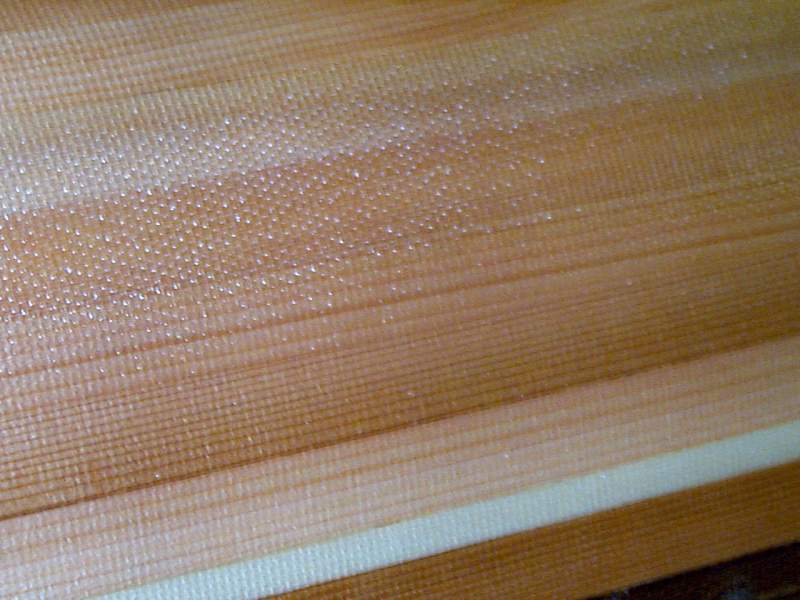 |
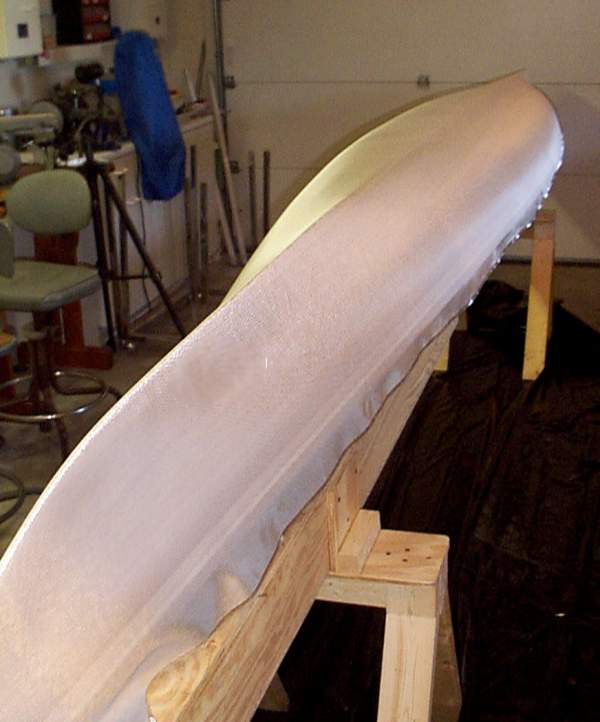
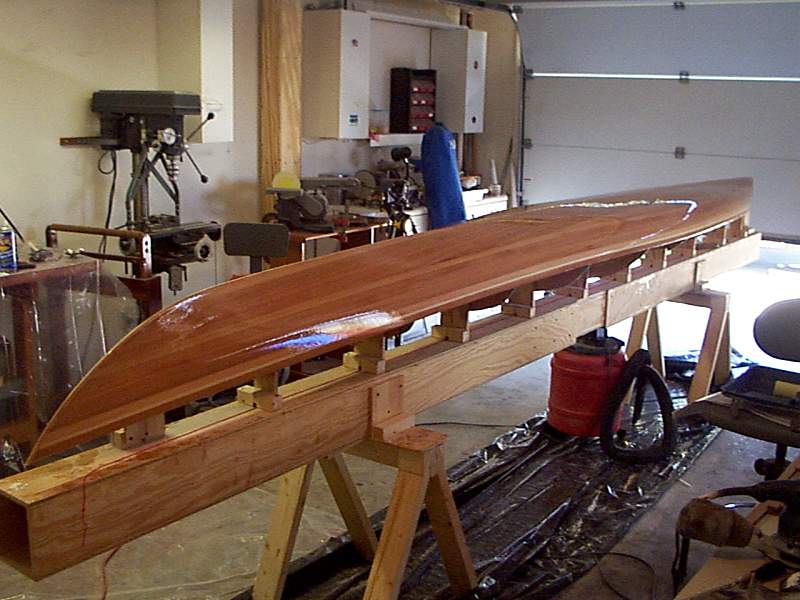
This is how the hull looks all over, when you get close enough. Some epoxy ends up on the plastic drop cloth, but the wood and glass sure get enough! Next come the fill coats, starting tomorrow. The "Ding-All" epoxy that I used is absolutely water-clear, very low viscosity, and has a very long pot life, but it has one drawback - - Because of all the UV protectant in it, it blushes like crazy. That means I have to wash it with a scrub brush tomorrow before I add the first fill coat. That seems a small price to pay, however . . . |
| First Fill Coat | |
 |
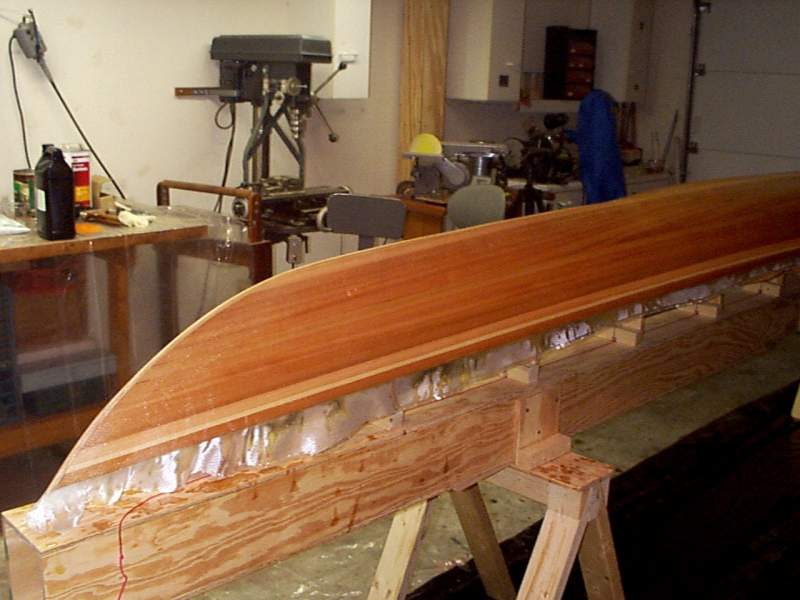
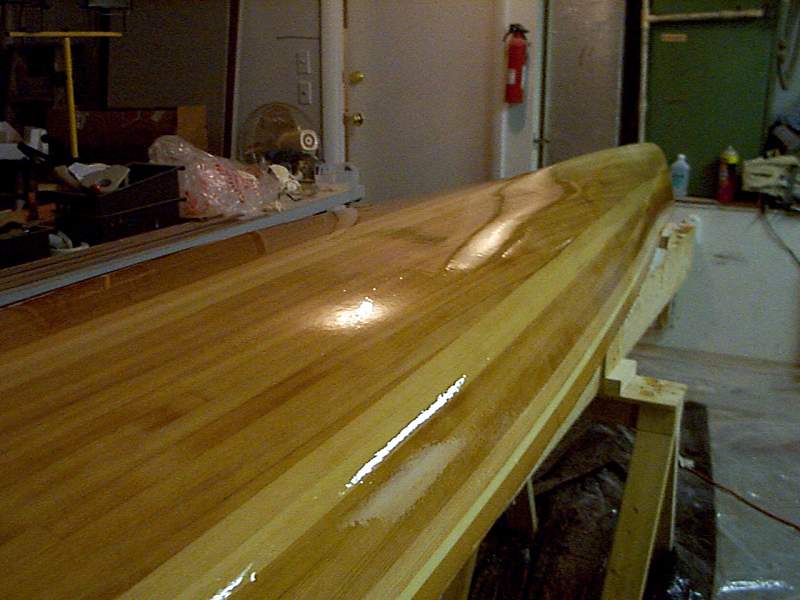
Next day . . . After Spending hours blending the 4 glass reinforcement tapes at the bow and stern into the main glass layer, and then sanding the entire hull, and then scrubbing it with soap and water, I was able to put on the first fill coat. Dan suggested I use a brush and really scrub the epoxy it into the weave, which is what I did. I simply could not believe what a thin, really brushed out coat of epoxy did to the hull's appearance! How many coats are we supposed to put on??? |
 |
I did screw up during the tape fairing operation, and sanded through the main cloth on the bottom center near the stern. It is a 'quarter' sized ding that sure surprised me. A 4" square patch is now in place, and it is already barely visible. I'll have to now fair IT into the hull, and make it disappear. This epoxy is such great stuff, I don't believe any problem is irreversible. |
| Sanding, Patching Fill Coat | |
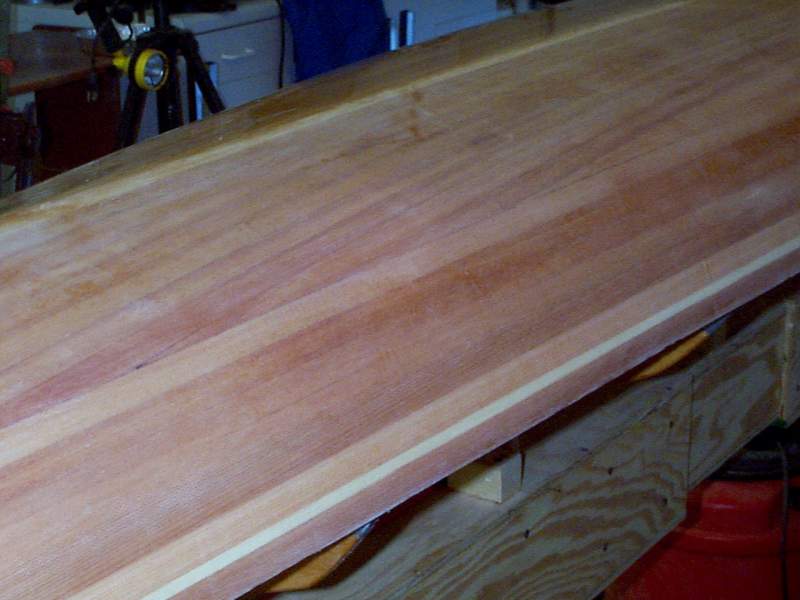 |
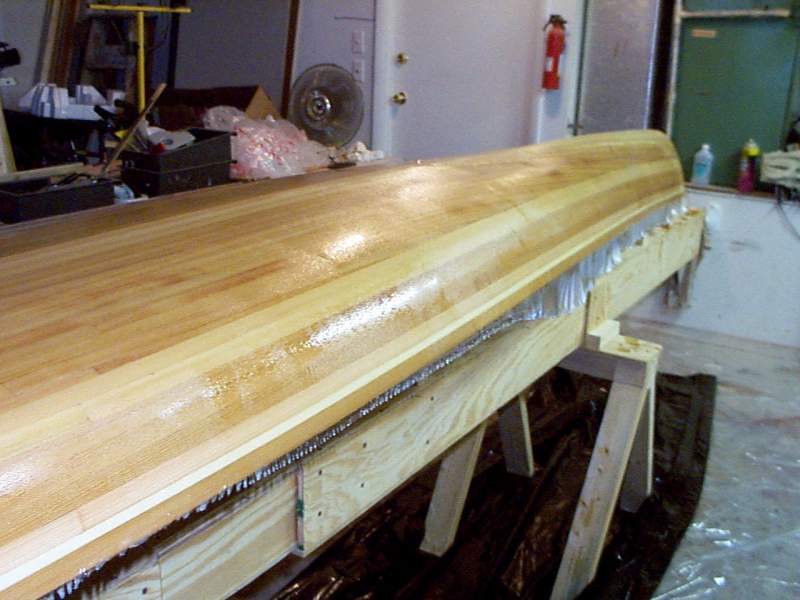
This looks like a step backward, but you've got to trust the system. Here the first fill coat has been sanded on one side of the hull. It looks like plain wood again, a little hazy appearing, but strong as all get-out. It also makes a funny noise when I sand it, almost like sanding plastic! <G> I include these pictures of the sanding so I don't forget how much work it is. The worst part is the bottom of the sheer strip, where I let epoxy drip and forgot to remove it when it was "green." I am paying the price now. |
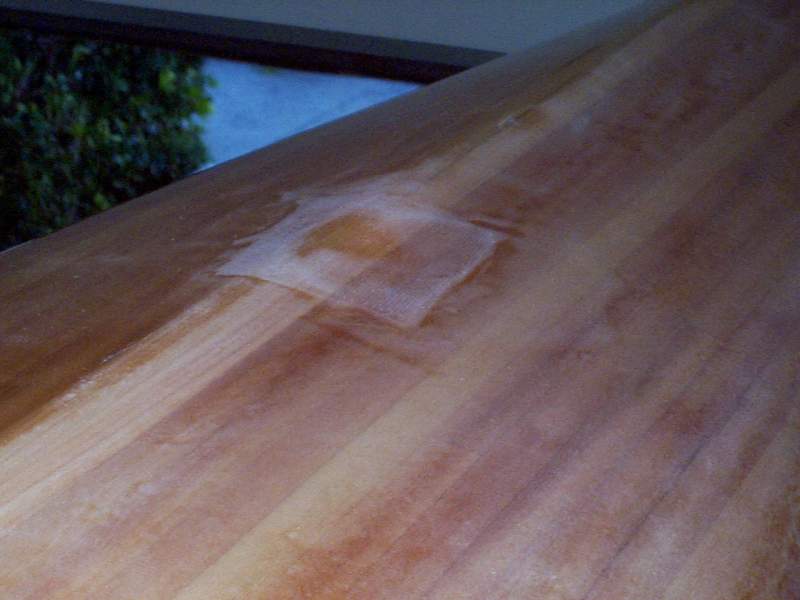 |
Here is the patch, it looks awful after I feathered the edges. It should be invisible in another day, after the next fill coat. I include this photo to remind me to be more careful when feathering. One slip of the ROS and I bought myself another job . . . more sanding! |
| Second Fill Coat | |
 |
Well, after all that sanding, I get to spend 45 minutes rolling on a second fill coat and then . . . sand again. I used a brush for the first fill coat and it went on just a hint heavier than I might have liked. I tried a foam roller today and it too went on heavier than I would have liked. No problem, just a few runs to sand as a consequence. Because of the viscosity of epoxy, even this thin Ultra-Clear Ding-All, I guess it's hard to apply it too thinly without overworking it. |
 |
I still can't imagine all the fuss about air bubbles in the epoxy. It could be the 82F temperatures or the Ding-All epoxy, but any bubbles the roller left outgassed and flat went away. I felt no need to "tip-off" this application with a foam brush, as it self-leveled and had not a bubble to be seen. |
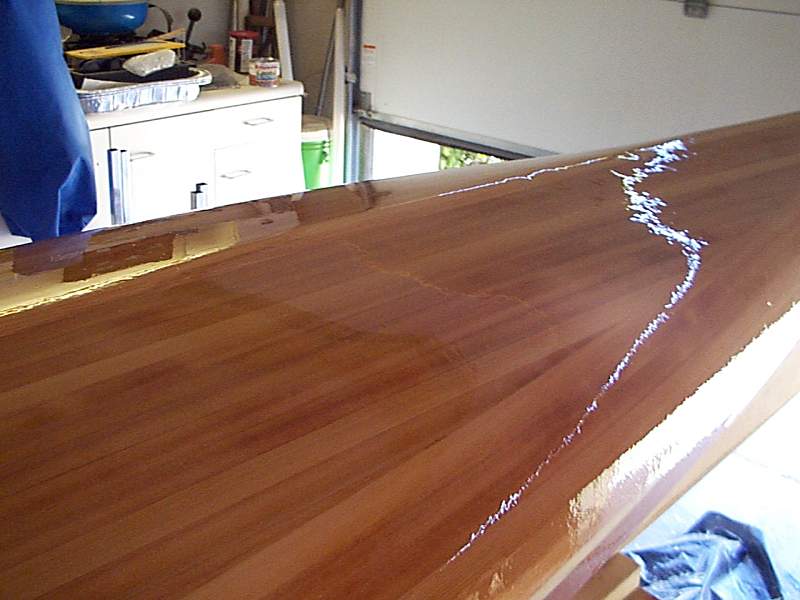 |
Now, where was that patch again? There are lots of reflections in this pic, and this side hasn't quite leveled yet, but I can no longer see the patch. I'm sure there will be some sanding to do when all is said and done (There's always more sanding to be done . . .), but that sucker has flat disappeared for the moment! |
| Third Sanding & Fill Coat | |
|
See Photos Above |
The entire hull was sanded to completely level it a third time. A third Fill coat of epoxy was rollered on, quite thin this time, as not much correction was needed. Both the sanded hull and the freshly glassed hull looked so much like the above pictures, none were taken. It will be left in this state to cure, and then the strongback will be "desengaged" and the hull turned over to begin stripping the deck. The hull is now complete until the inside of the hull is glassed - That occurs after the deck is stripped and glassed, and the two halves of this boat are disassembled to remove the forms. Next, please go to "Deck Construction." |