 |
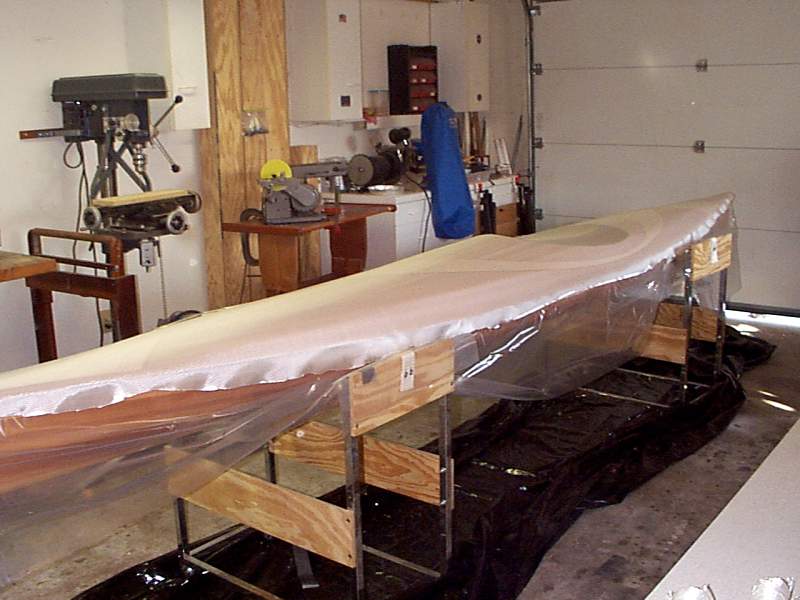
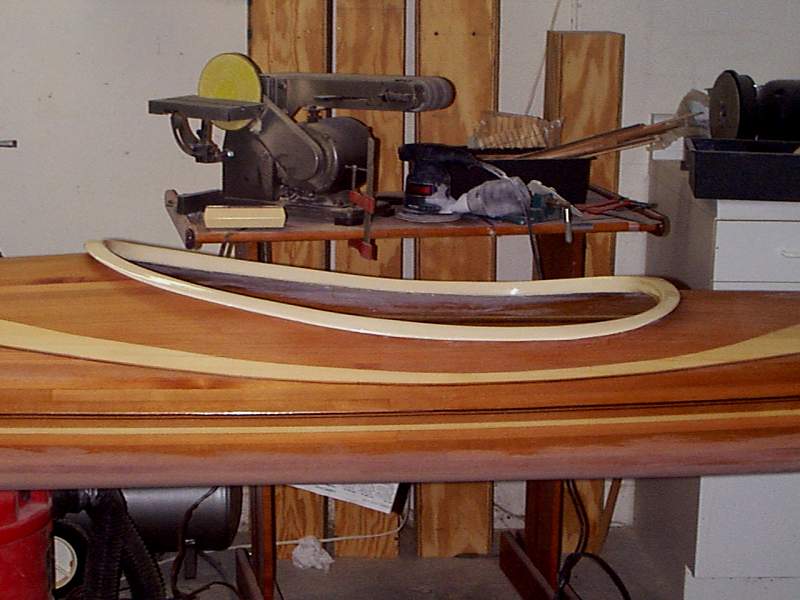
In preparation for the glassing, the garage has been swept, vacuumed, blown out, and any remaining dust allowed to settle. The deck was wet out one final time, and lightly hand sanded one last time to be sure no glue, epoxy, grease, or whatever remained. The deck was vacuumed, and plastic cloth was taped between the hull and the deck to keep any drips from finding the hull. Finally, the 30" 6oz glass cloth has now been laid in place over the deck, brushed down, and trimmed to size. |
 |
Everything is ready for the epoxy, except the temperature. It is 92F in the garage as this picture was taken about 6:30PM on June 1 2000. When the sun sets, and the temp start to "fall," the epoxy will come out. That is the plan, anyway . . . |
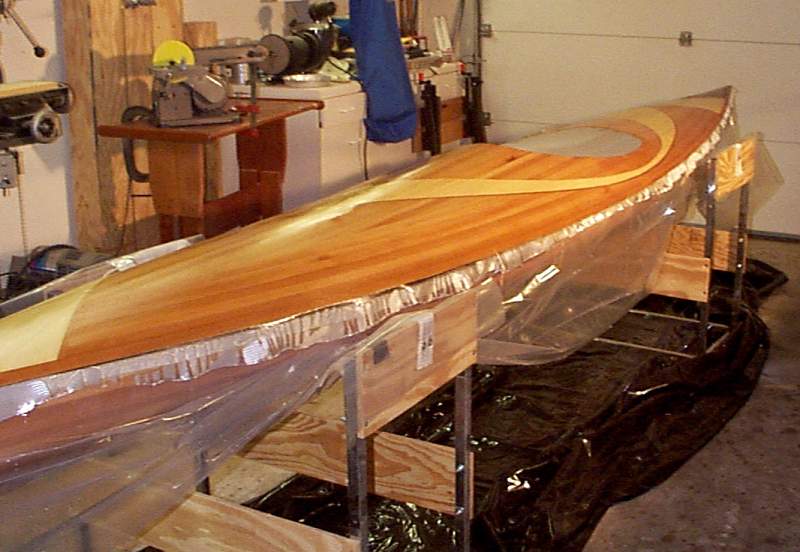 |
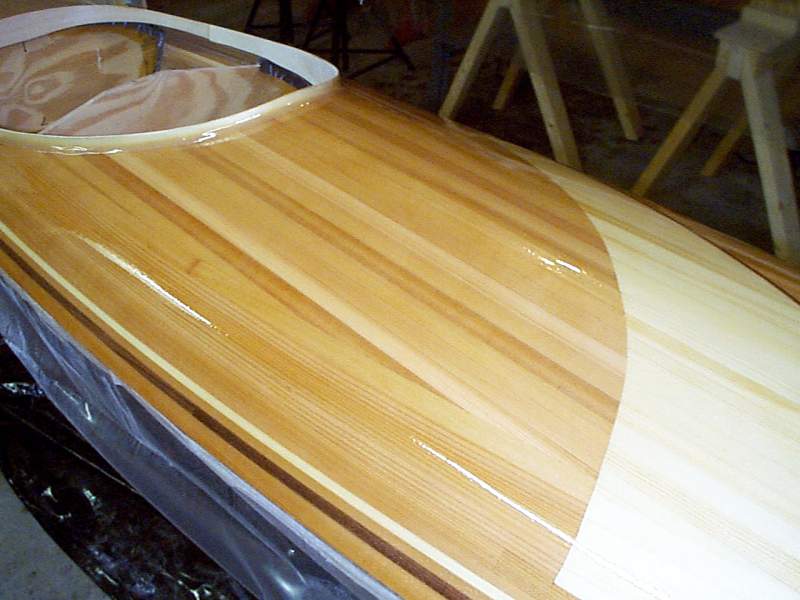
It has gotten real cool and dry in the garage now, down to 90F and 67% RH so I decided to run with it. Here the epoxy has been applied to the glass deck cloth and has not yet started to "kick." |
 |
The colors of the wood have really come out now, the walnut is so dark against the spruce as to be sort of shocking. Because I was working alone, I started with a wimpy roller, got tired of that tedium in a BIG hurry, and ended up spilling the epoxy like last time, and spreading it with a squeegee. Fast, efficient, and a very proper wetting of the cloth. It looks great. |
 |
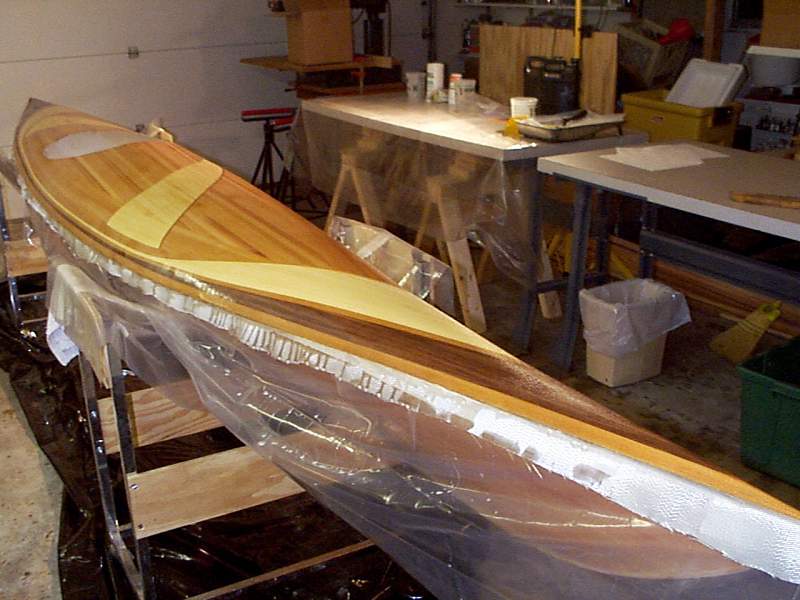
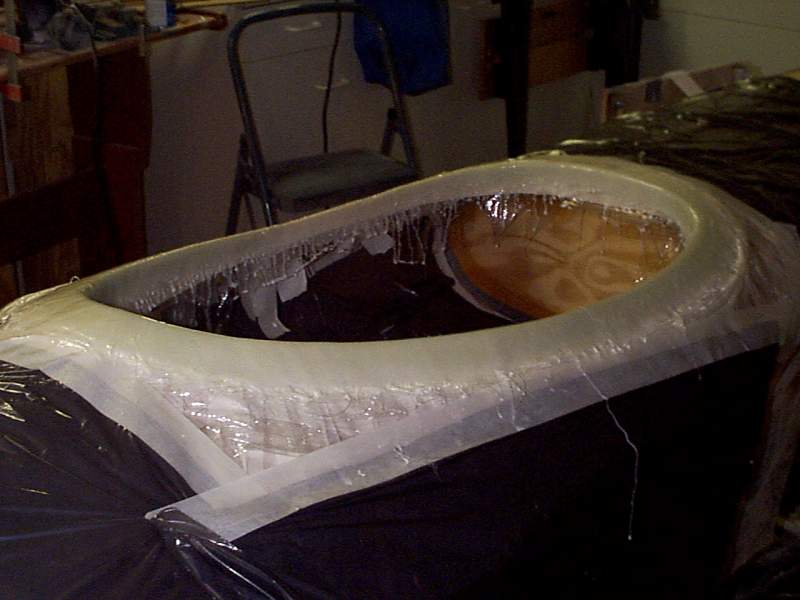
Aha! Let the truth come out: I've been building a submarine all along! Actually, I'm applying the cockpit coaming. I decided to do this after trimming the new glass layup, but before doing any fill coats. I have to reinforce the coaming with 4oz cloth on the deck, so I figured I'd feather & fill it all at once. |
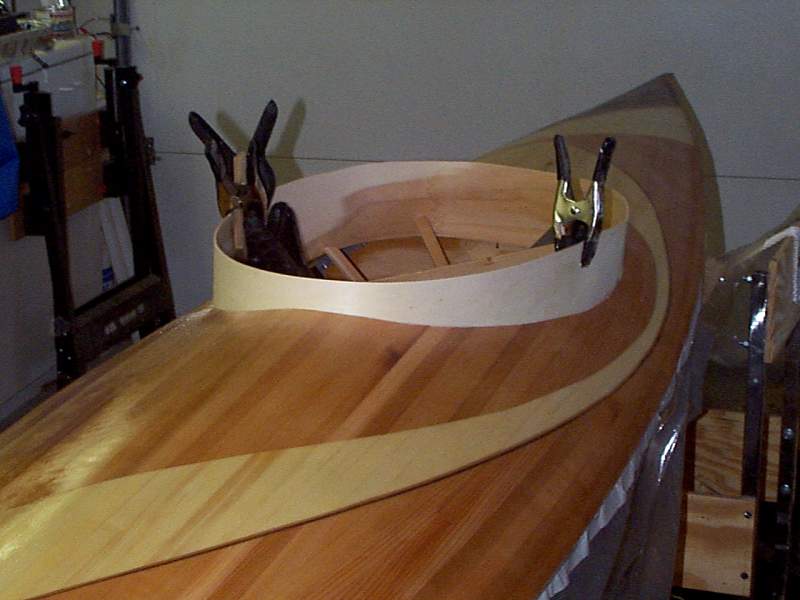 |
The conning tower, . . . er . . . coaming was soaked in wet towels for a 1/2 hour, so I could bend it to shape. Here I have it wedged in and it is now drying in this shape. I will probably use some instant glue to tack it in place when dry, and then glass it to the deck. I'll use a fillet of thickened epoxy between coaming and deck before applying the bias-cut cloth. |
 |
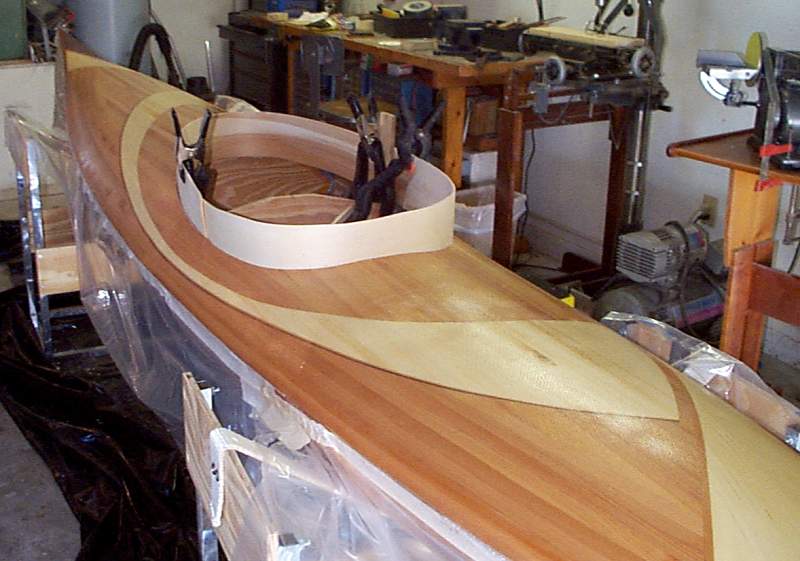
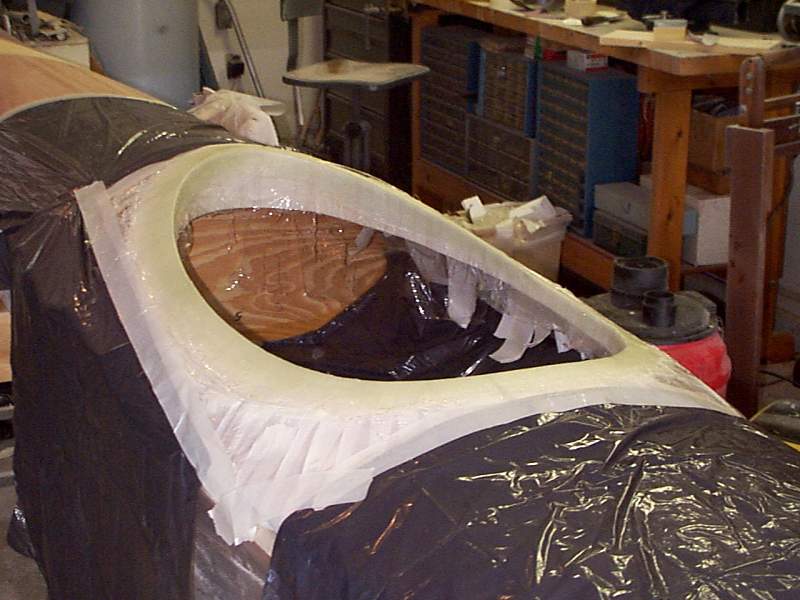
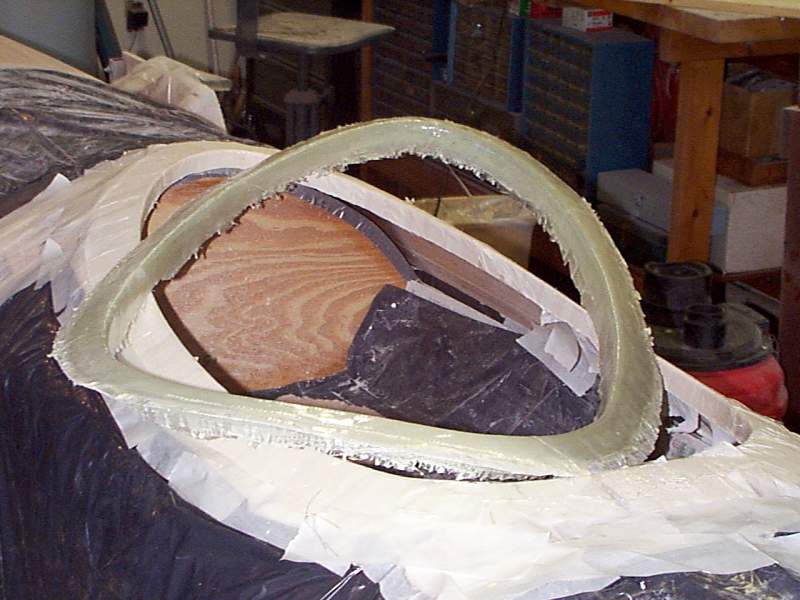
The deck has been masked around the coaming, leaving about a 1/4" gap, to clean up the edge of the fillet when the tape is removed. The pencil line is the trim line, the coaming will be cut to this line when the tape has been applied and the epoxy cured. |
 |
The epoxy fillet has been laid in place, and a layer of 4oz bias cut glass has been laid over it, extending up the coaming to the cut-off line, and down the deck about 2 inches. It looks horrible at this stage, but some scraping, sanding, and a few more layers of epoxy will make this structural reinforcement disappear. It is a necessary step. |
 |
The coaming has been trimmed on top of the deck, the new glass reinforcement was scraped and sanded, the whole deck was sanded and washed to remove amine blush, and the first fill coat has been applied. |
 |
The new fillet and glass reinforcement have dissolved into the deck, and will be hidden when the coaming lip is fabricated. A few more fill coats and this baby is ready to come off the forms! FINALLY! |
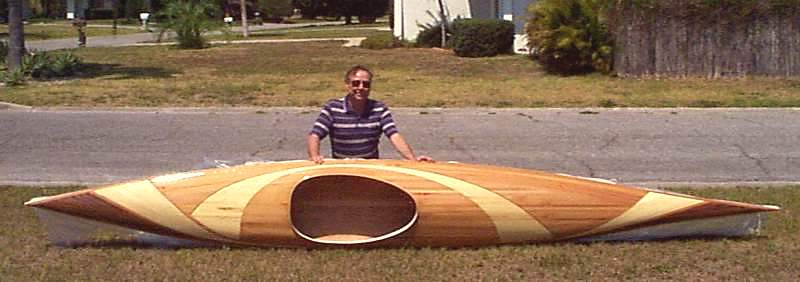 |
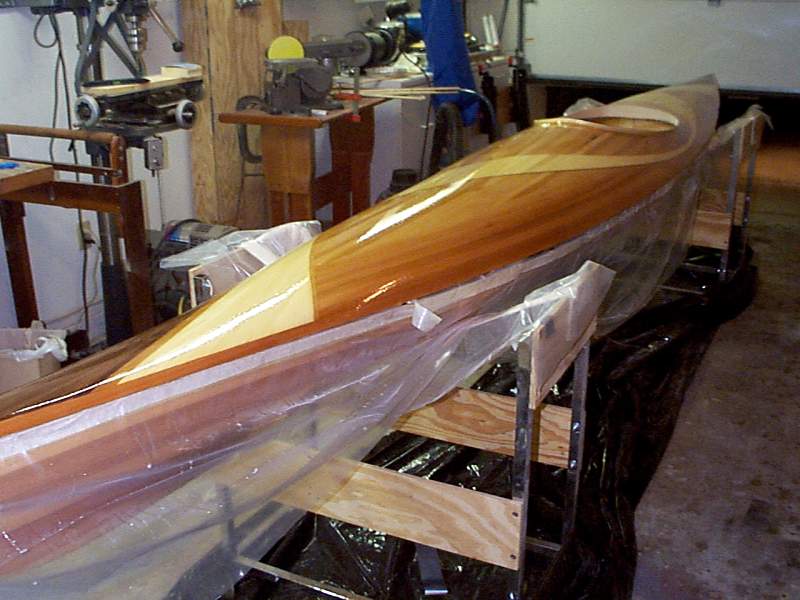
I was finally able to take the kayak outside and see what the whole deck looked like from a distance. |
| Coaming Lip
Construction
This took a little longer and required more color matching experimentation than I anticipated . . . | |
 |
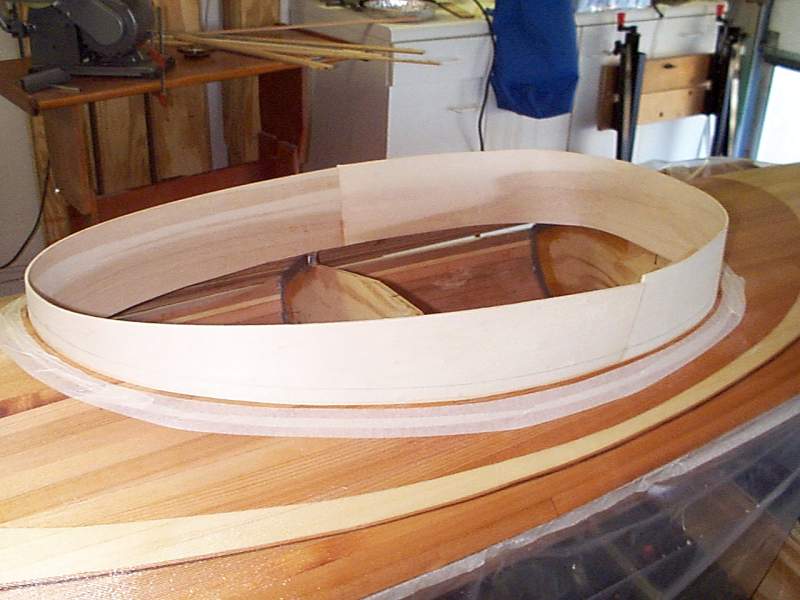
This is a take-off on Vaclav's technique of building a composite coaming. I cut up a foam surfboard blank for the sandable foam, and started hot glueing it to the deck, fitting it against plywood coaming. I could then sand it to a contour that matched the deck profile. |
 |
After all the foam was glued down and sanded to shape, I taped it heavily with masking tape. The masking tape was then sprayed with contact cement, and plastic kitchen wrap was stretched over the whole affair. The kitchen wrap was used in lieu of a release agent, so that the subsequent buildup of glass cloth could be popped off the deck for trimming and finishing. My friend Dan dropped by to say hello and help out, so I captured his butt in this picture as a way to say "Thanks." |
 |
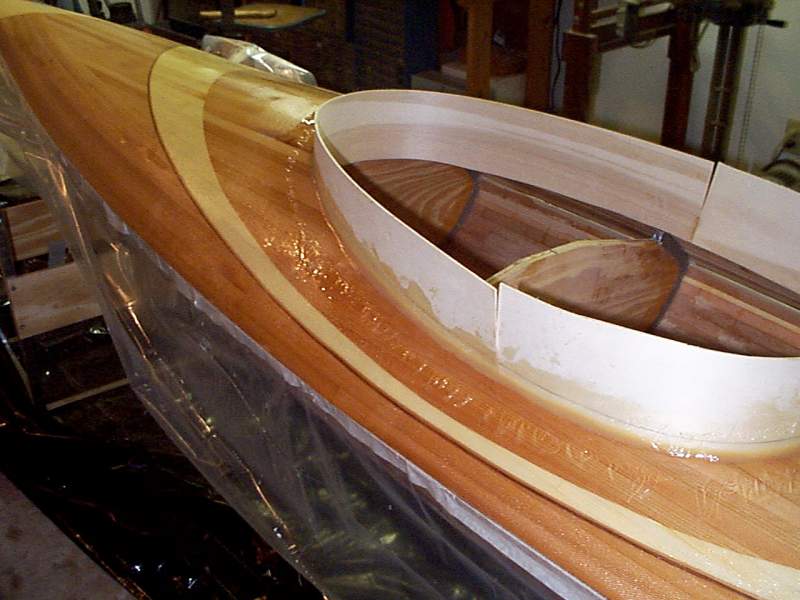
Six layers of 6oz cloth have been laminated in place over the foam, tape, and wrap - It has to extend 1-1/8" out from the inside edge, and 7/8" down from the top edge. There is plenty extra so it will have to be trimmed down quite a bit. |
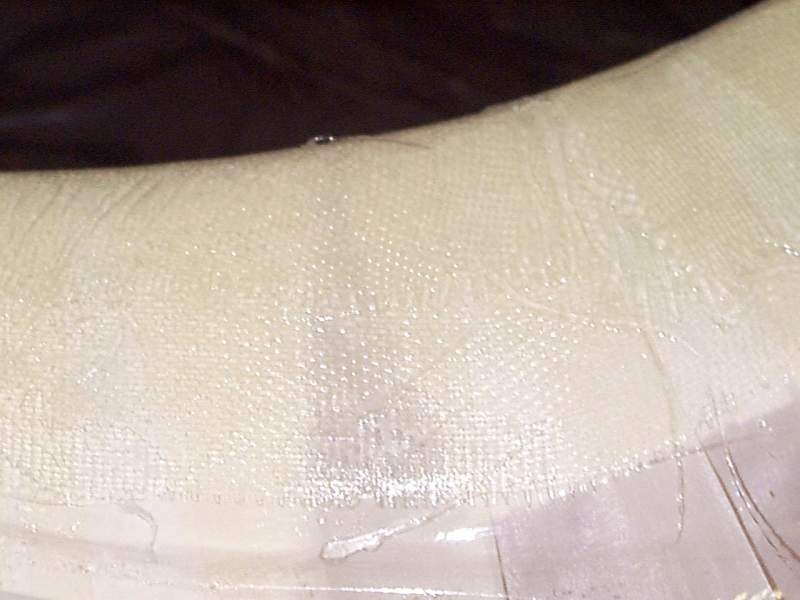 |
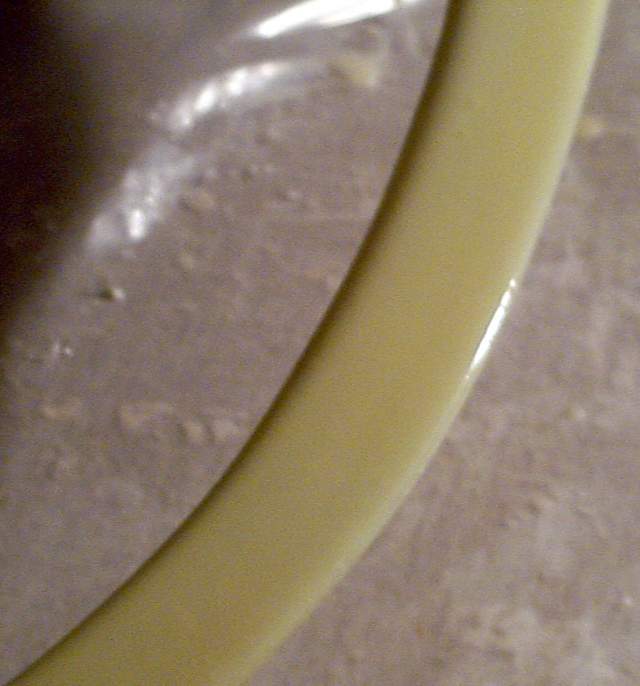
This is a closeup of what a 36oz layup looks like - The cloth and epoxy still are translucent, allowing us to see the gap in the foam blocks here. |
 |
I added white pigment to the epoxy as a trial, and this is the appearance after 3 thin coats. It is becoming more opaque, but I'll have to experiment a bit more to really make the coaming a solid color. The Florida sun is so intense, a dark colored coaming could inflict nasty burns on one's arms after sitting in the sun for awhile. My goal is to match the coaming to the color of the spruce used in my deck designs. |
 |
I sanded the epoxy filler coats to keep the surface fair and added another couple layers of glass. The coaming has been pried up from the mold and checked for thickness buildup. It is about 1/8" thick at this point, and should be plenty strong with all those layers of glass. Total weight in this untrimmed condition is only 1.2 lbs. It should come in at about the same after trimming and then adding some epoxy buildup. |
 |
The coaming has been trimmed to it's final shape around the outside, and close to final shape on the bottom. A few trial coats of pigmented epoxy have again been applied. It needs to be coated with a final color coat of epoxy, and then a few clear coats. It will then be glued in place to the coaming support with thickened epoxy. Right now it weighs 0.8 lbs. |
 |
After trying many pigments and dyes, I finally found a combination that started to yield some decent results. West Systems 501 is a good starting point. The coaming here is starting to get close to its final color. The rough base of the coaming will be trimmed after it is glued in place over the cockpit. |
 |
Closeup showing the top of the coaming lip. One final color coat, a few clear coats for a glass-like buildup, and it should be ready for mounting. Foam brushes have proven the easiest to work with, and produce the nicest finish. I've decided to move onto the inside of the deck so I can permanently mount this coaming and get the bottom trimmed out before proceeding. |
 |
I have been very busy the last week, but squeezed out some time to finish the coaming. I make an epoxy "paint" by thickening the epoxy a bit with colloidal silica, adding white pigment, and then mixing in a few drops of air brush ink to achieve the proper color match. I then brush this mixture onto the fiberglass coaming, made earlier. After about 4 coats, sanded in between, the coaming is properly shaped, filled, and colored. A few coats of clear will complete this part. |
 |
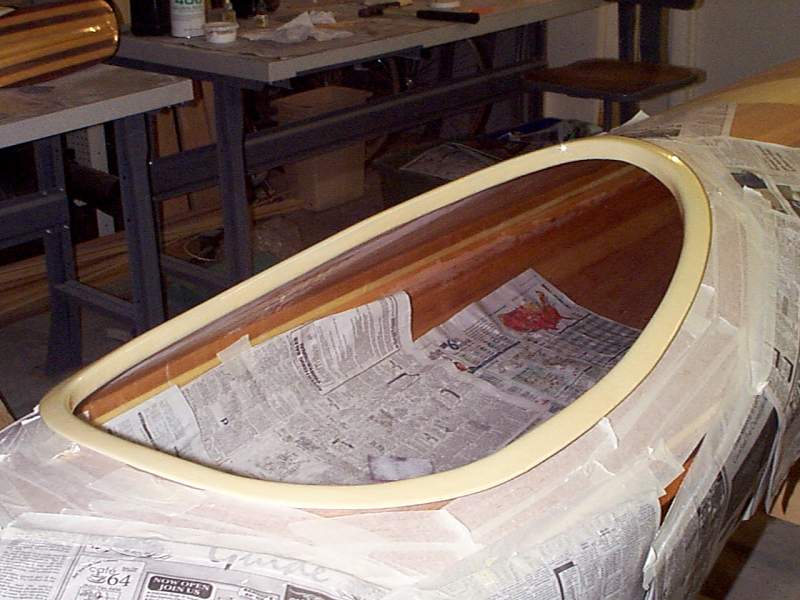
After removing the tape and newspaper, the true contrast of the coaming and deck become apparent. I had difficulty capturing what the true colors look like, but this photo at least gives some idea as to what you will see in person. Some of the kayak is sanded, some is not, and there is fresh fill on the sheer glassing. |