 |
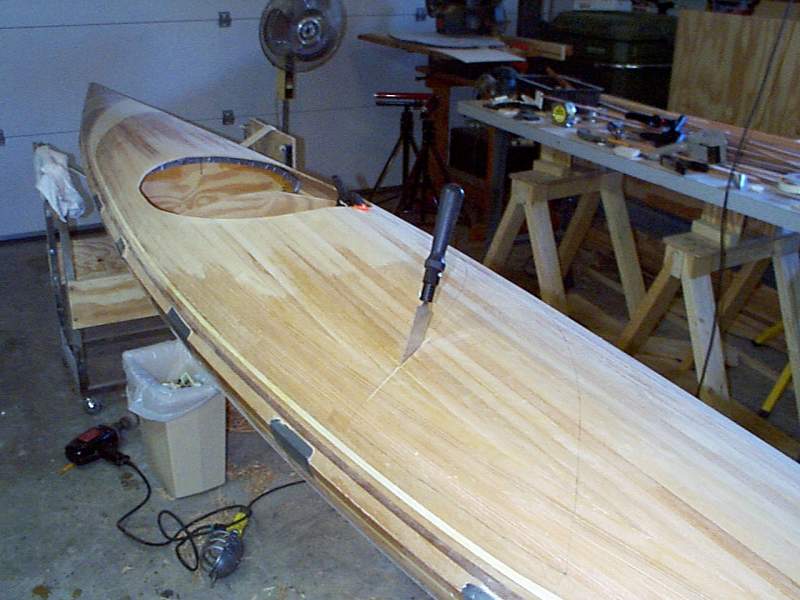
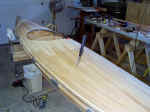
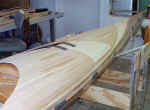
I first sanded around the cockpit
area so I wouldn't have to remove much material after trimming the
cockpit. The cockpit pattern was then traced, and cut out with a
Stanley flush cutting pull saw. I then drew the remainder of the
deck design fore & aft, and here I am beginning to cut out the forward
pattern with the pull saw. This was heart-in-throat time, as the
deck was so darn perfect at this point, and here I am cutting it wide
open. |
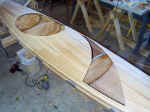 |
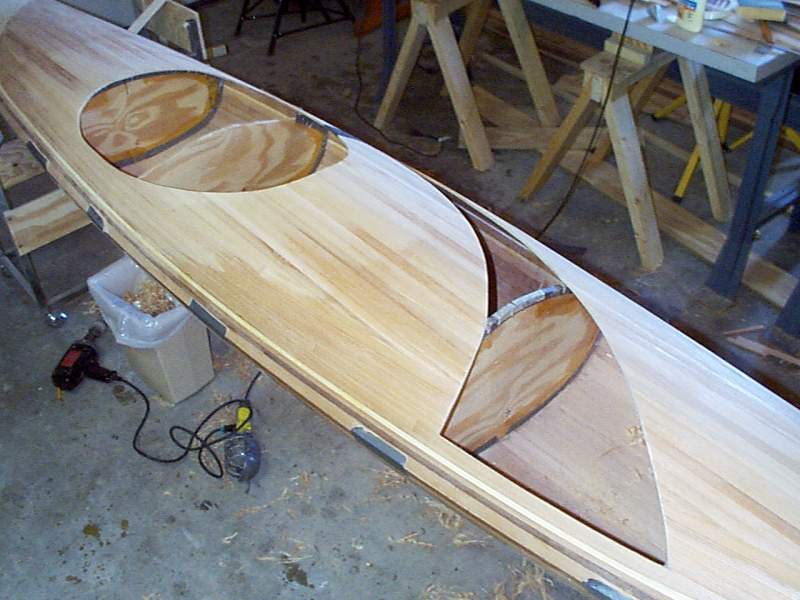
This is the hole that resulted after
the sawing operation. It will be outfitted with some pin stripes around
the radius, and then stripped with more spruce, to contrast the
surrounding red cedar. |
 |
Starting to fill in the new
cutout. |
 |
The cutout is being filled with
spruce strips, oriented the same way the deck was
laid. |
|
|
 |
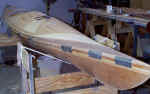
Now that the bow cutout is stripped
in, I finished the cutout at the stern. I was afraid to do it all at
once, opting to rebuild the support at the front before proceeding with
the cut. The walnut pin stripe and cedar spacer strip are being
glued in this photo. |
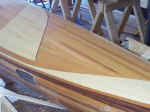 |
I couldn't resist wetting down a
piece of the deck to check what the different woods might look like at
this point - - The contrasts seem just about perfect! |
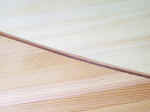 |
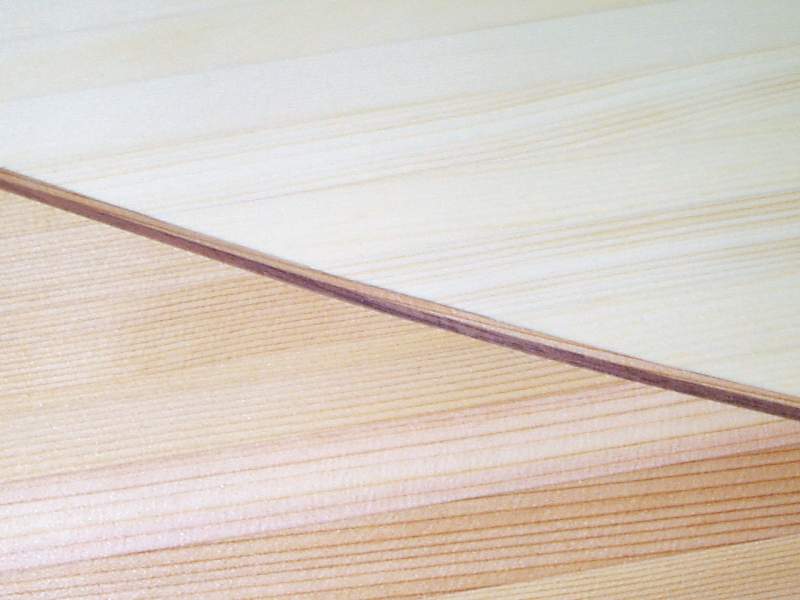
For you again Jerry - Remember years
ago when you couldn't believe the tight joints on that hardwood preamp
cabinet I made, and then I told you I cheated and cut the miters & all
on a Bridgeport mill? Well, this magnification of the deck shows
hand-done joinery, the walnut pinstripe is 3/32" . . . I don't need no
steeenking machine! |
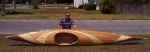 |
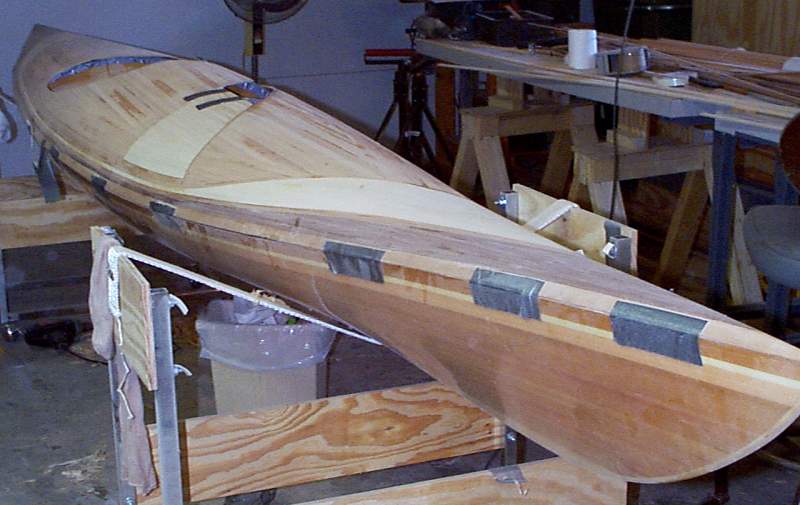
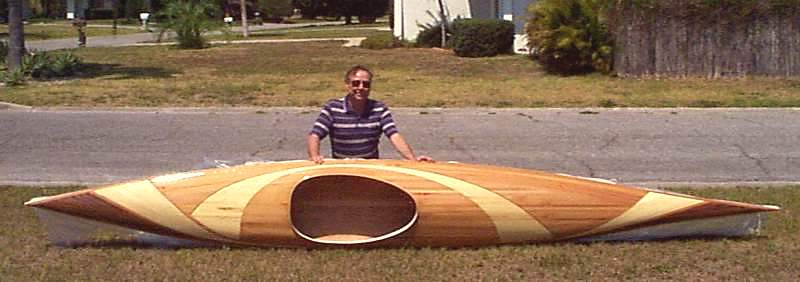
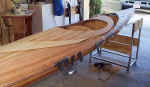
I finally took Betsy into the
sunshine and was able to step back and see what the deck design looks like
from a distance . . . |